Table of Contents
Galicaster Recording Agent Manual for b-it
Download this documentation as PDF.
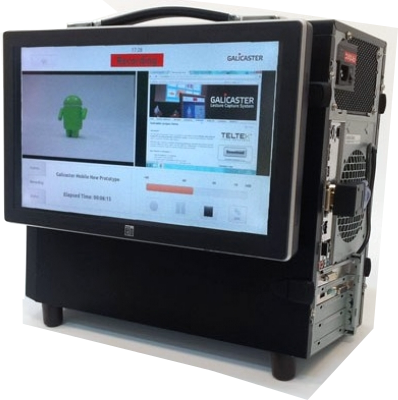
The Galicaster is a capture unit which allows teachers at b-it to easily record videos of their lectures.
Hardware Overview
In order to record your lecture, the following hardware components are required:
- 1 (one) projector (already installed in the lecture halls)
- 1 (one) computer or laptop with VGA output
All these devices can be provided by the systems group.
Setting up the Hardware
Projector
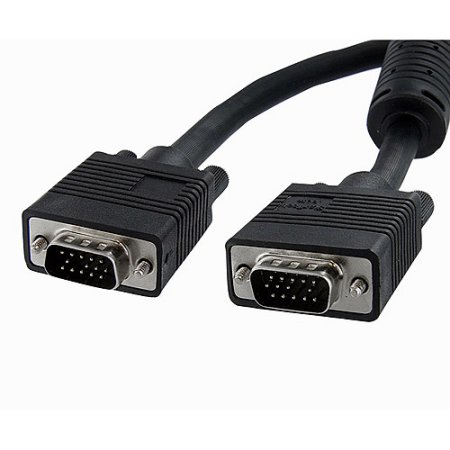
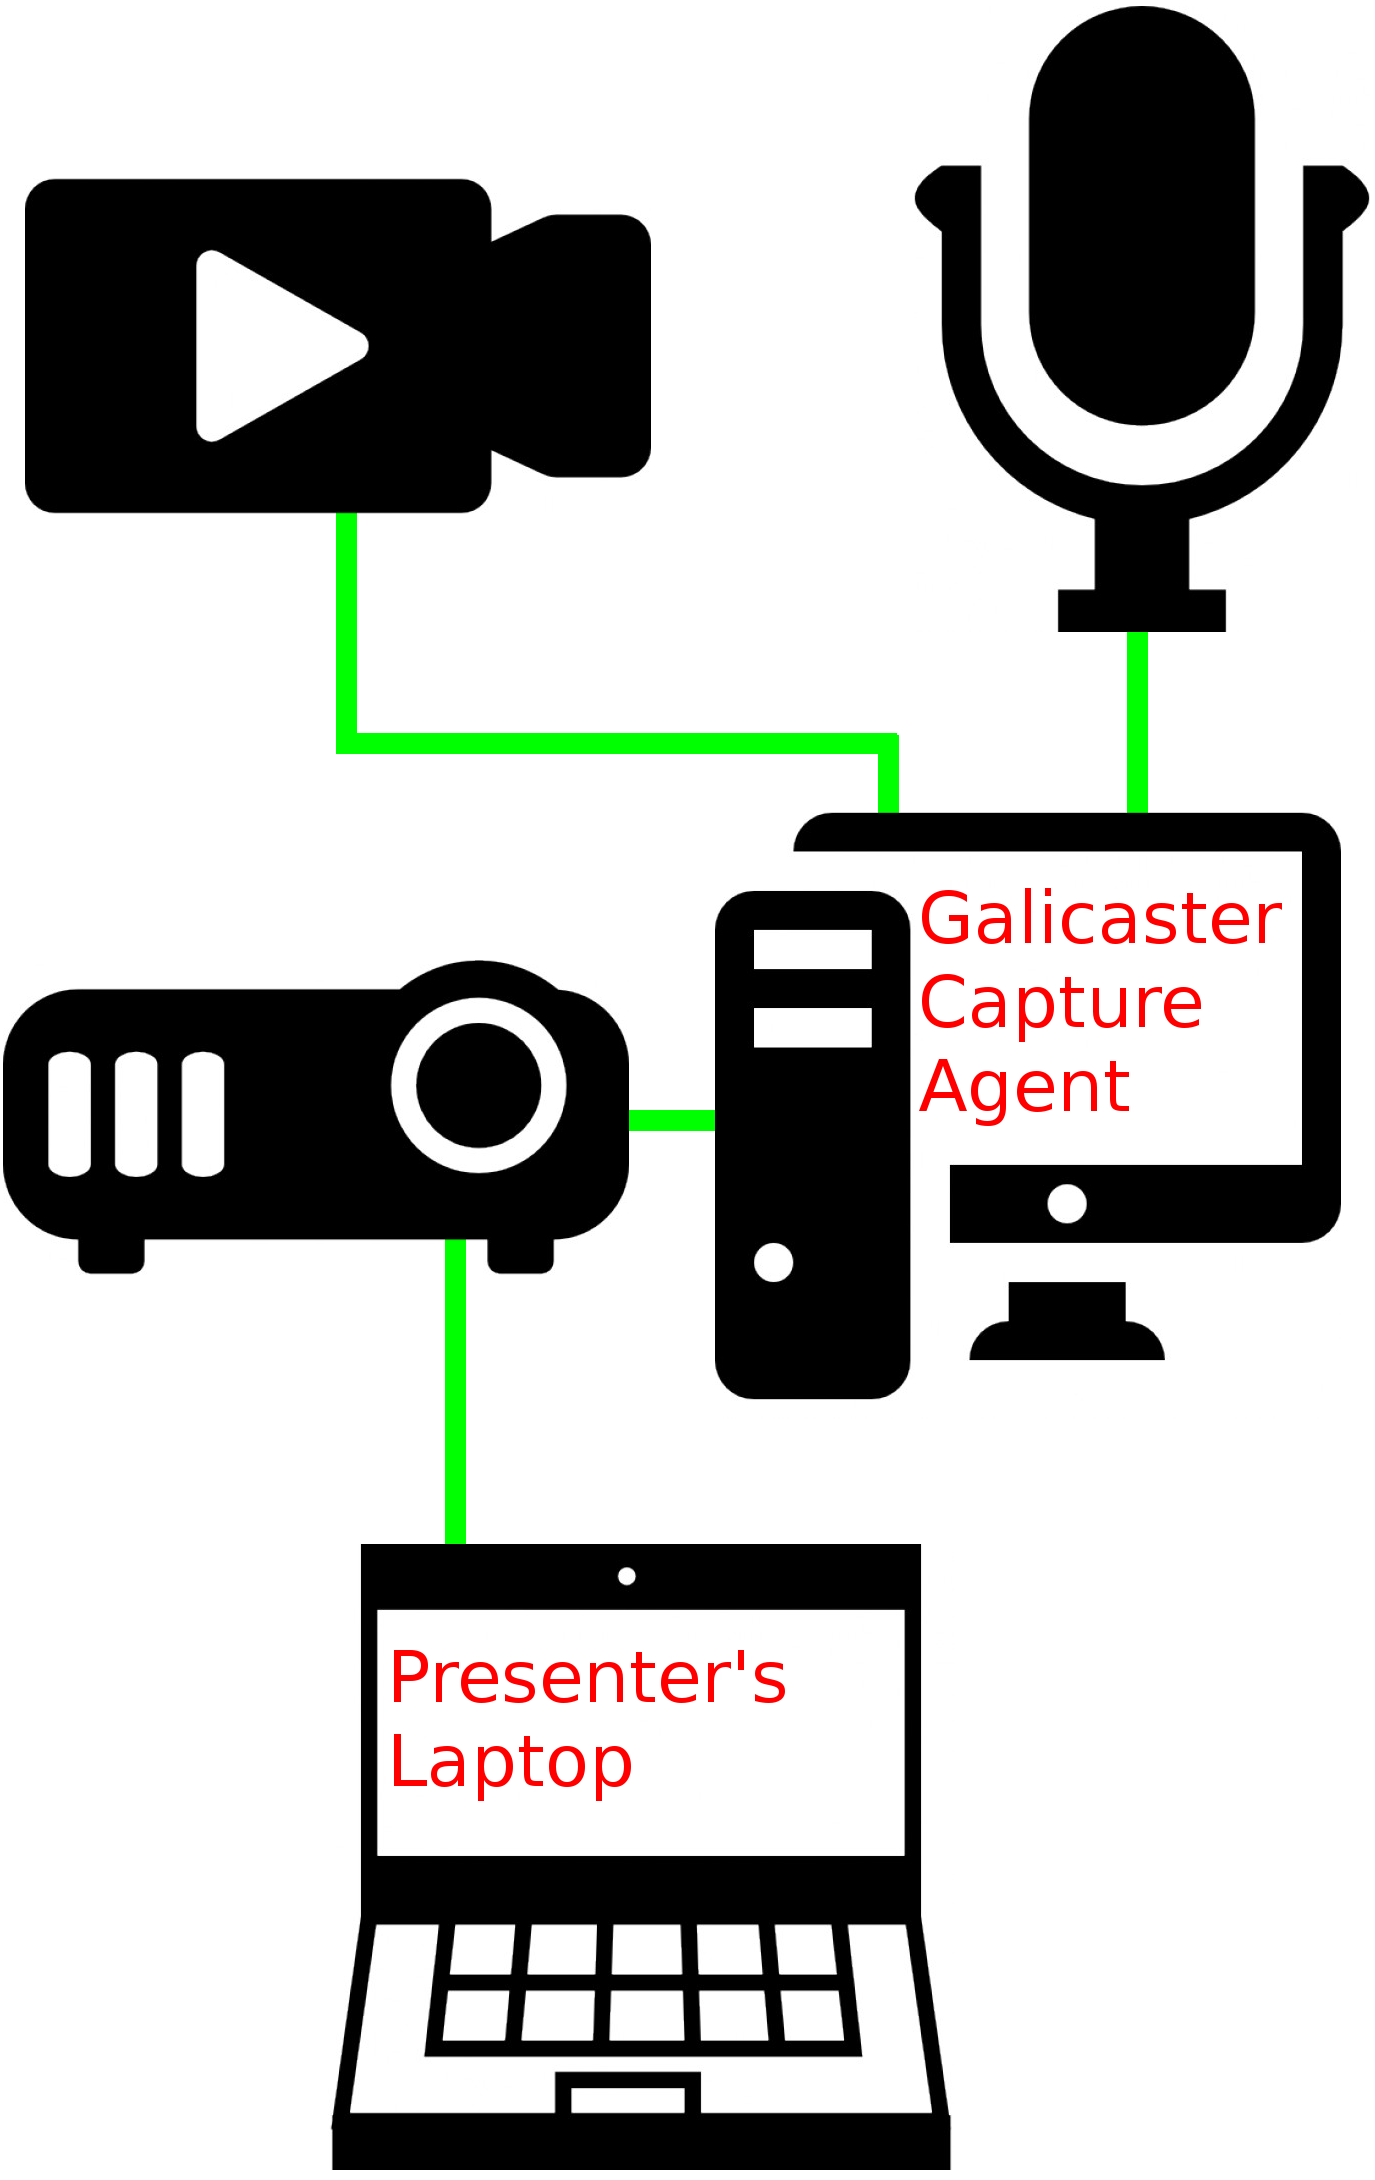
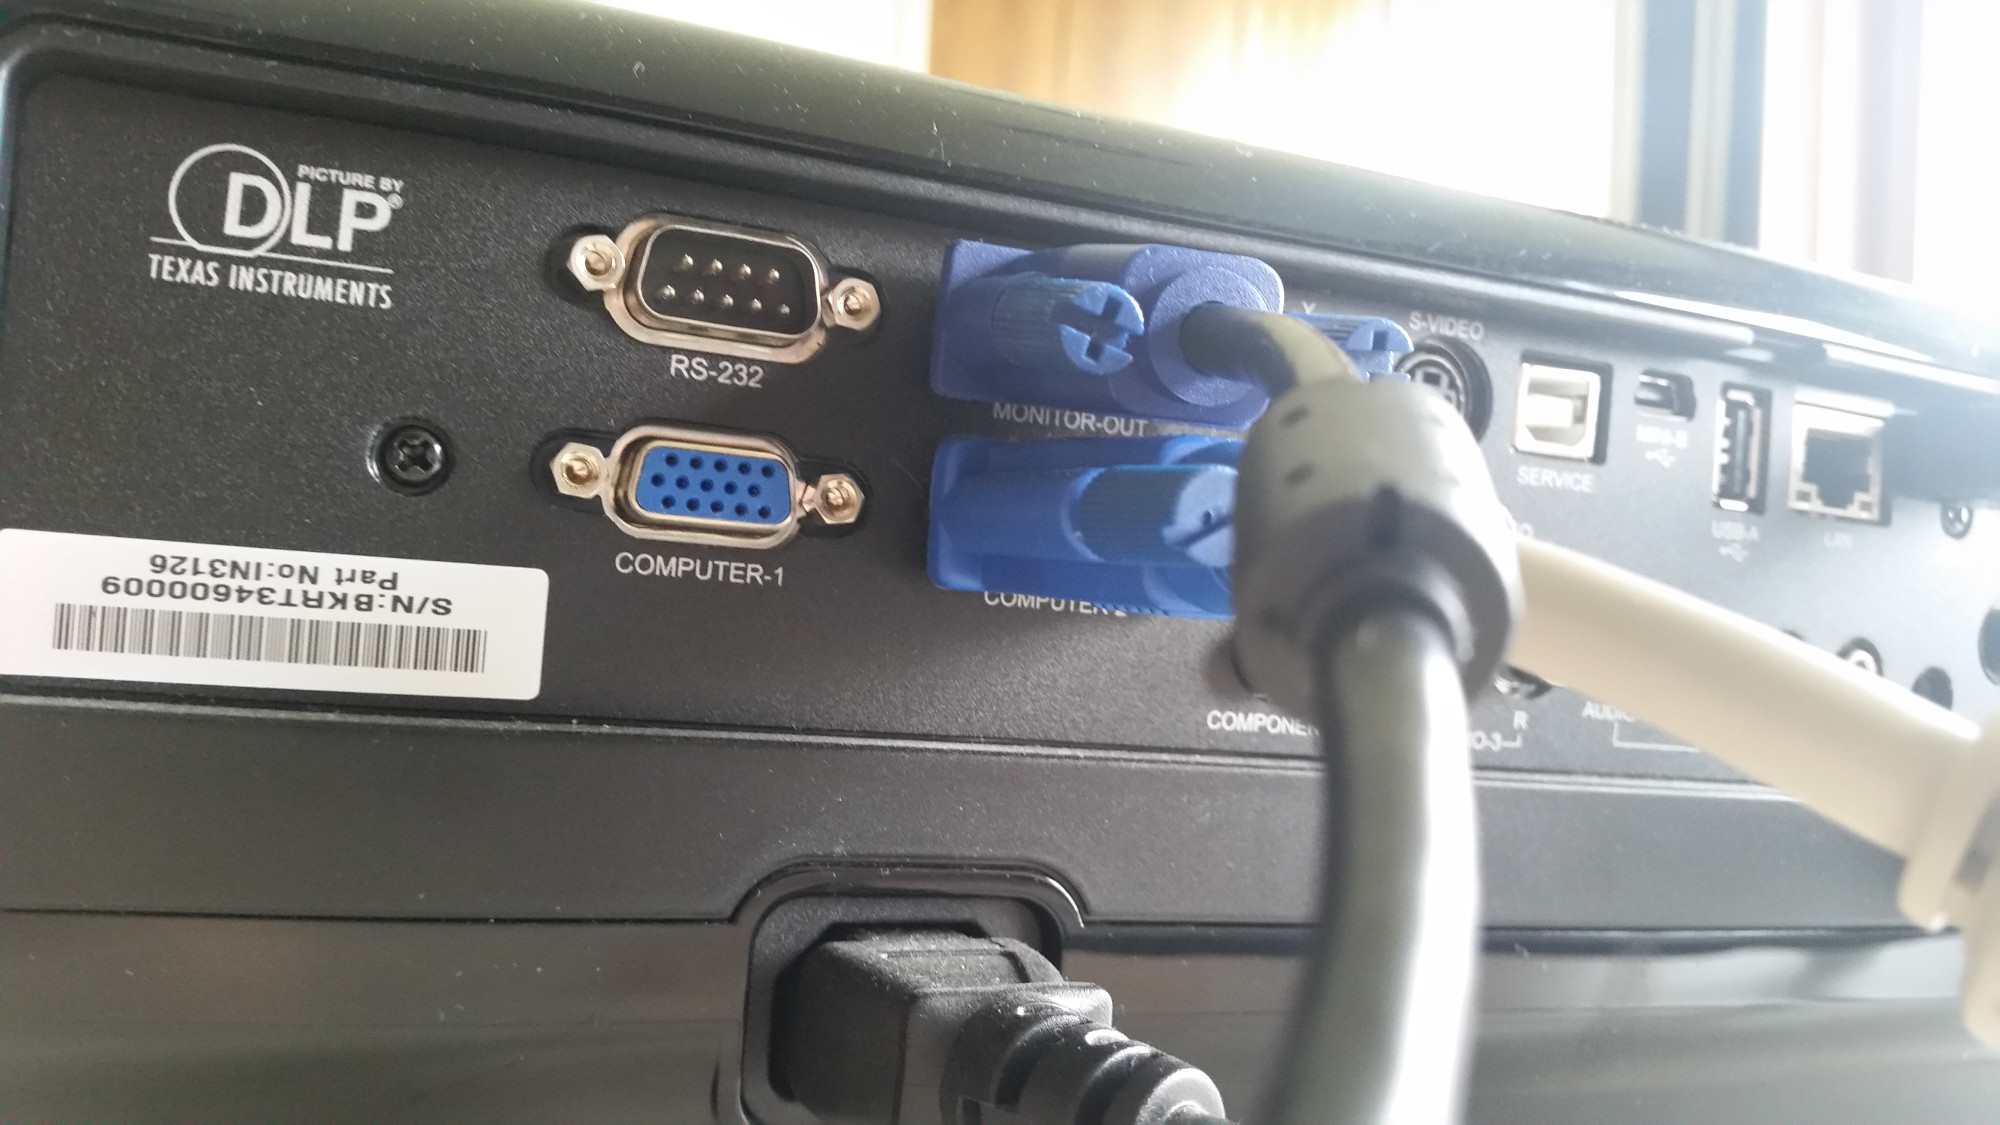
Connect your Laptop to the projector as you normally would, using the VGA cable.
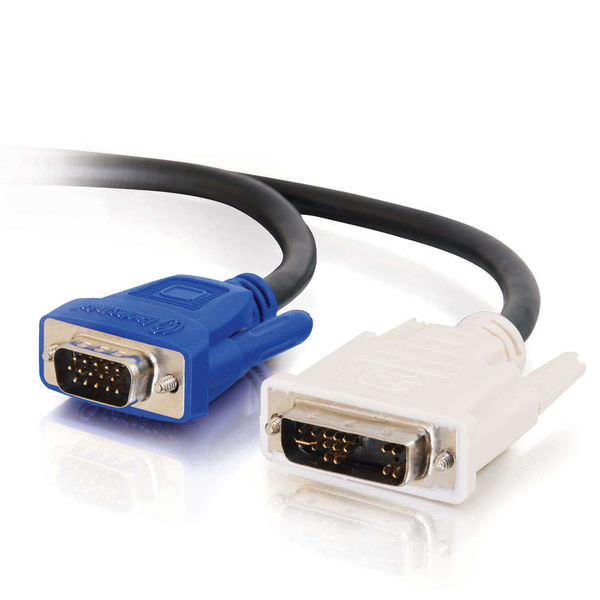
Connect the VGA-plug of the VGA-to-DVI cable with the projector's Video-Out port, often labeled “Monitor-Out”.
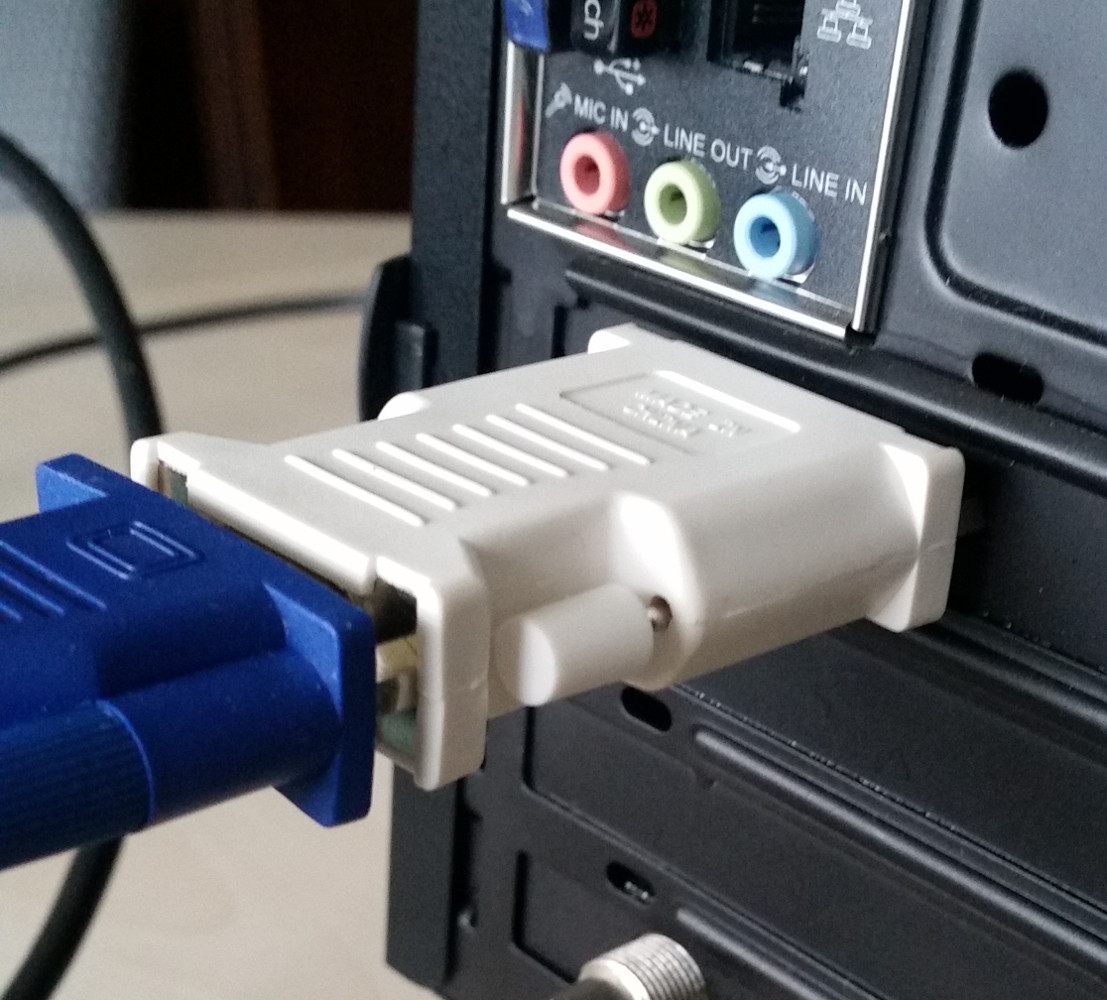
Connect the DVI-plug of the VGA-to-DVI cable with the Galicaster's DVI input port.
Microphone
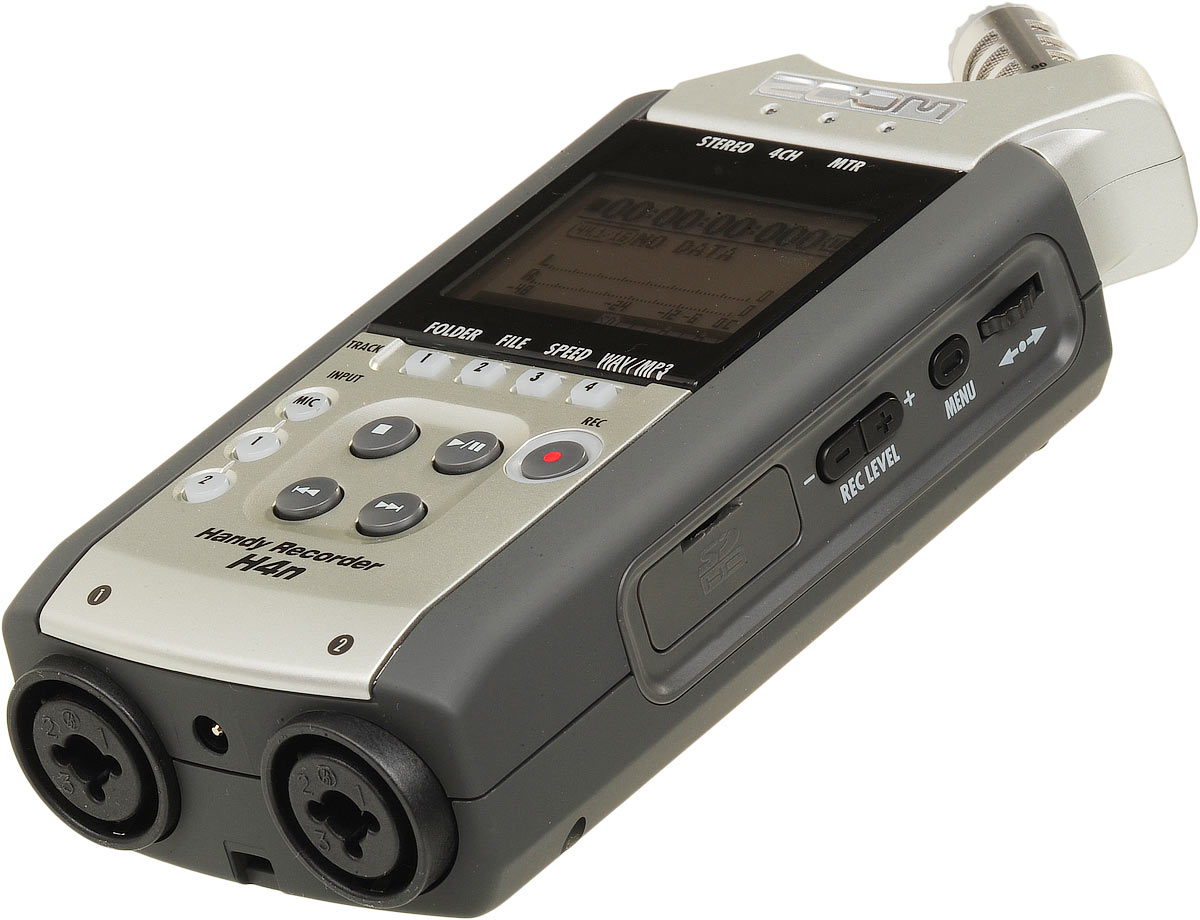
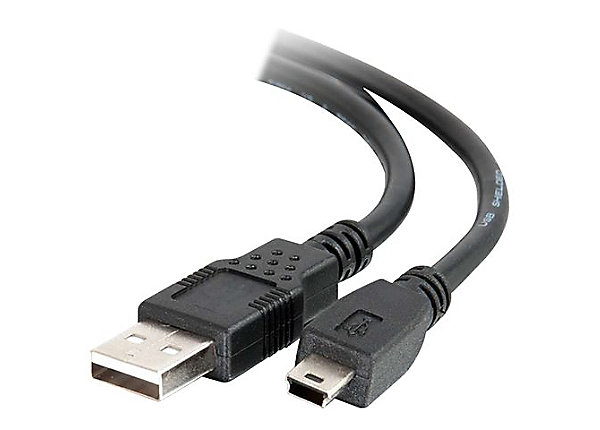
Using the USB/Mini-USB cable, connect the microphone to the Galicaster.
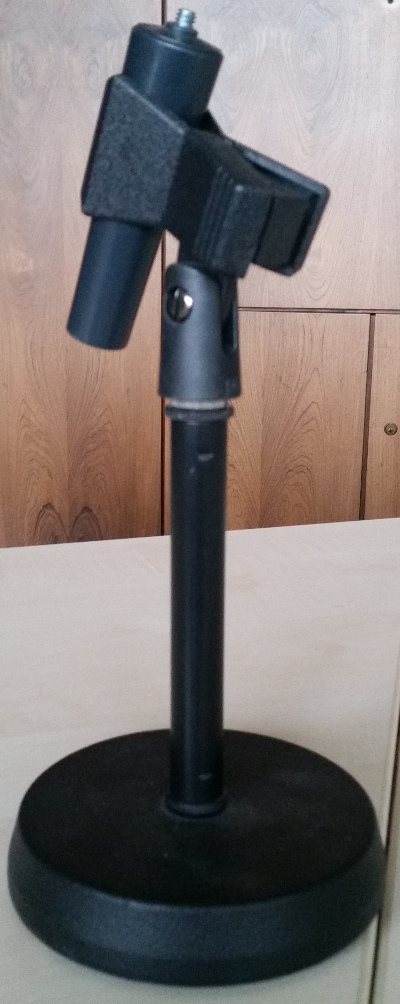
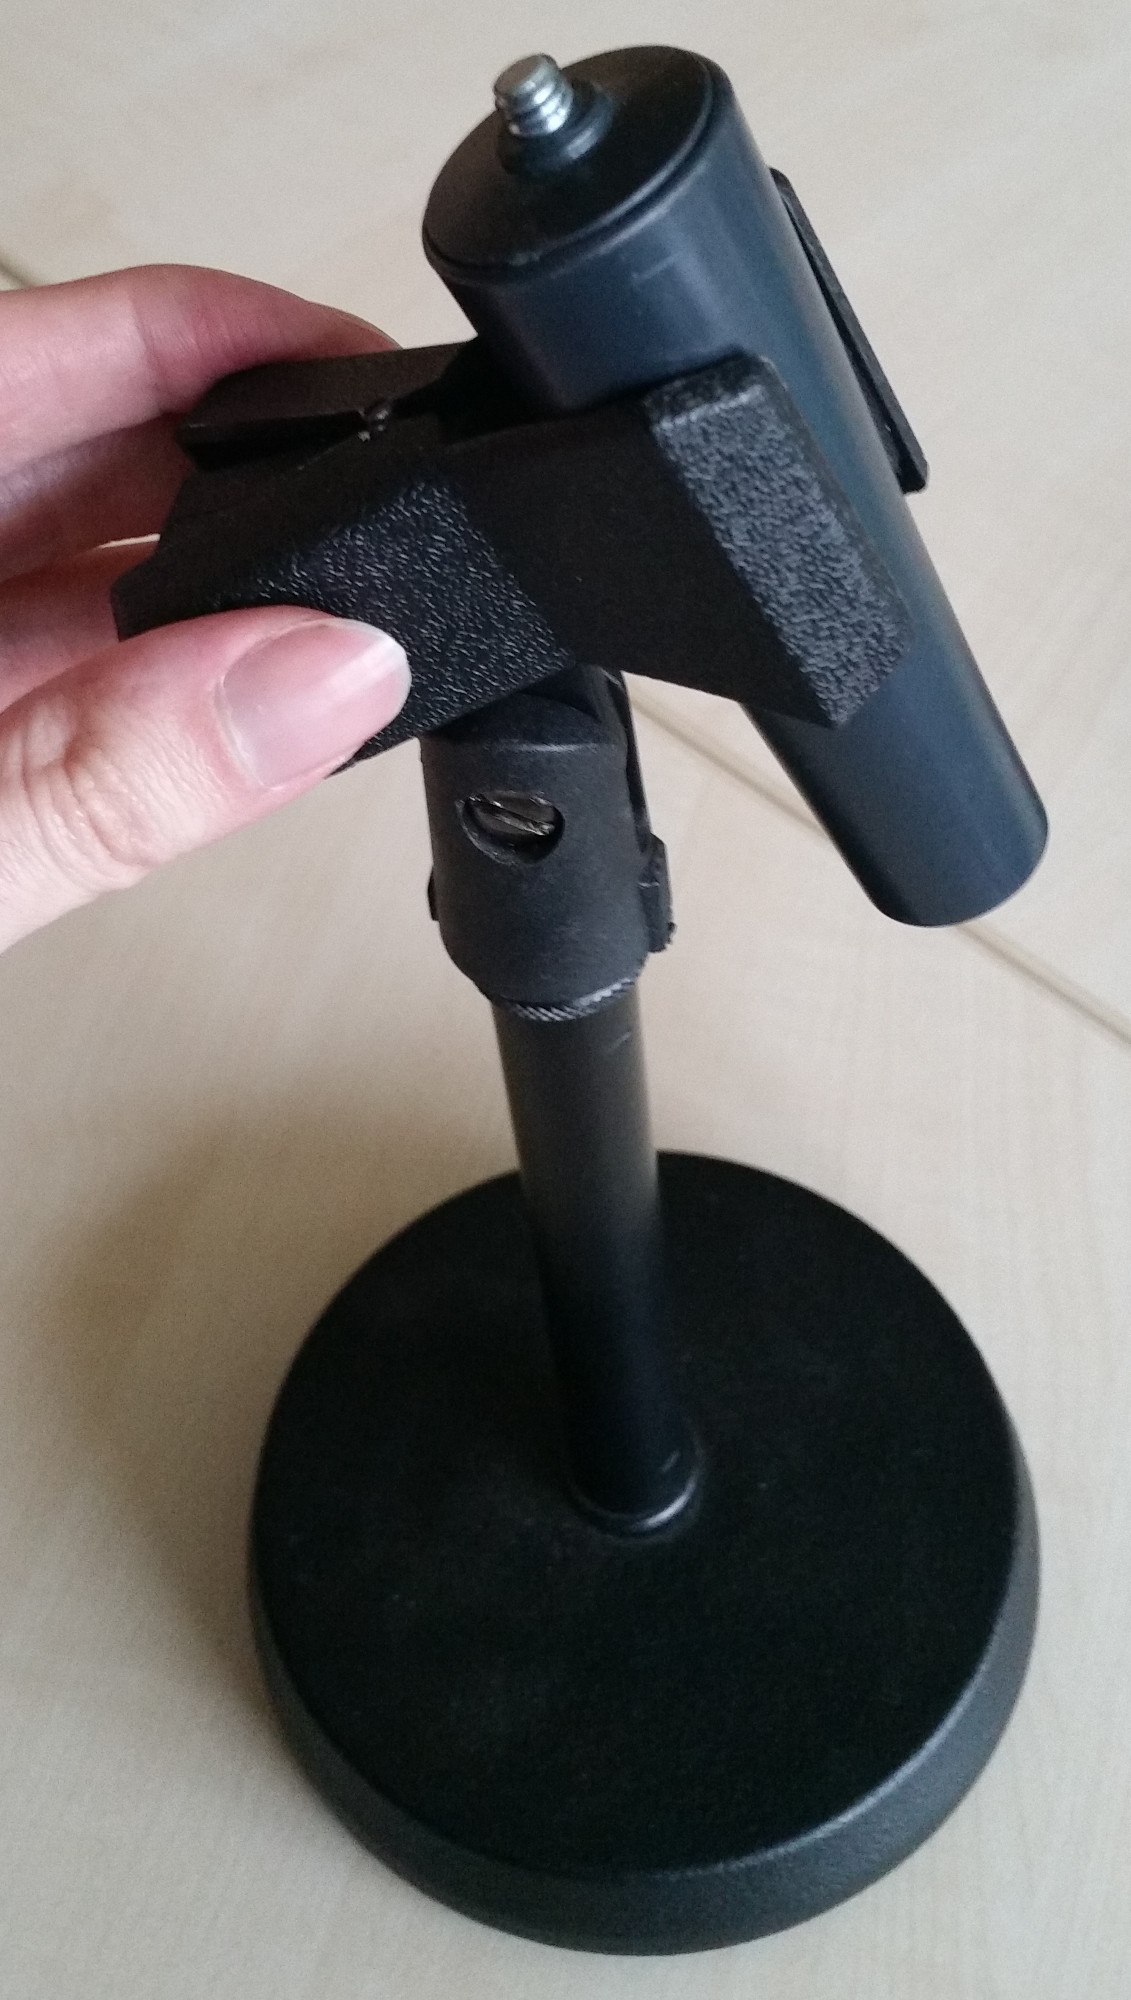
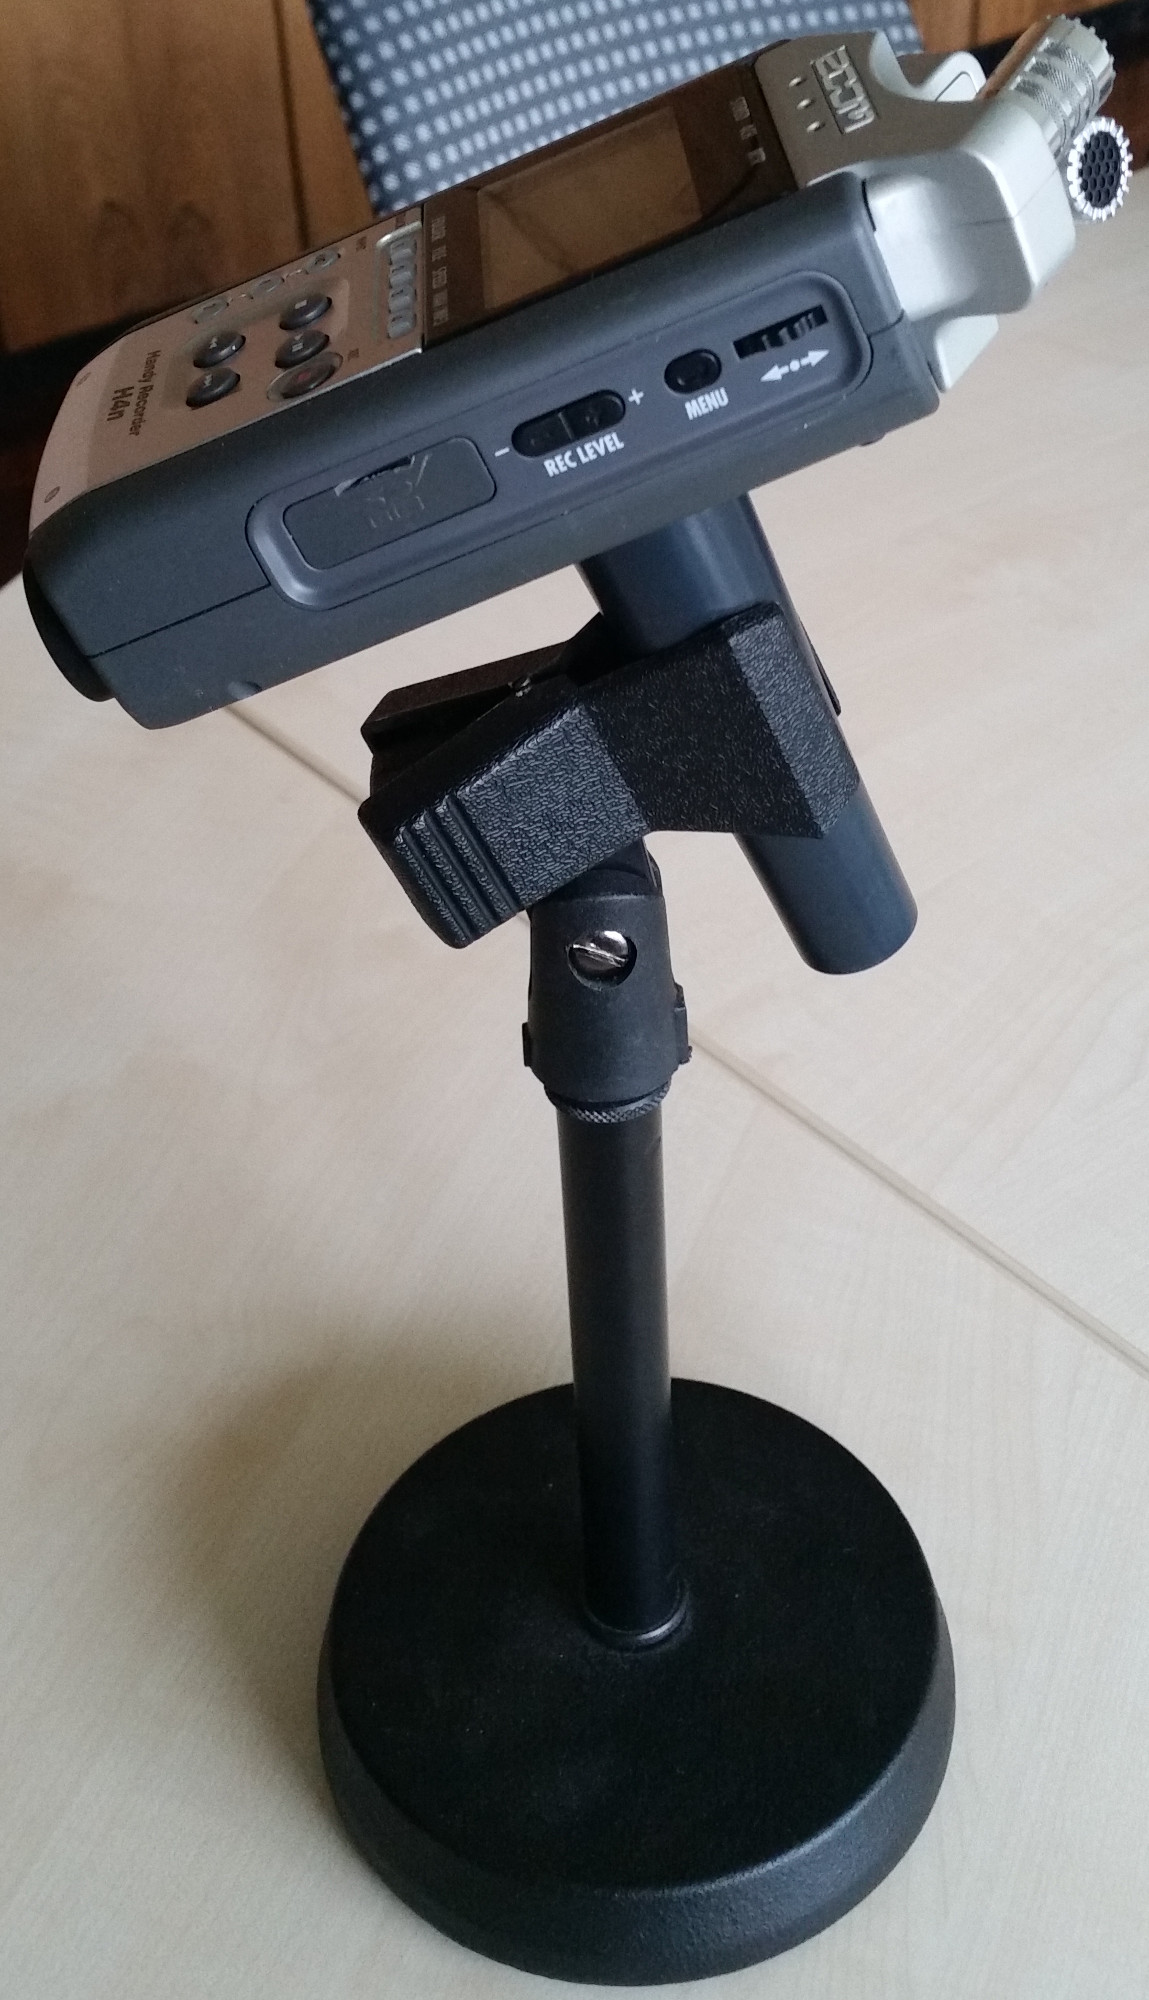
Position the microphone centered in front of you, optionally using the microphone stand to ensure the best possible audio quality.
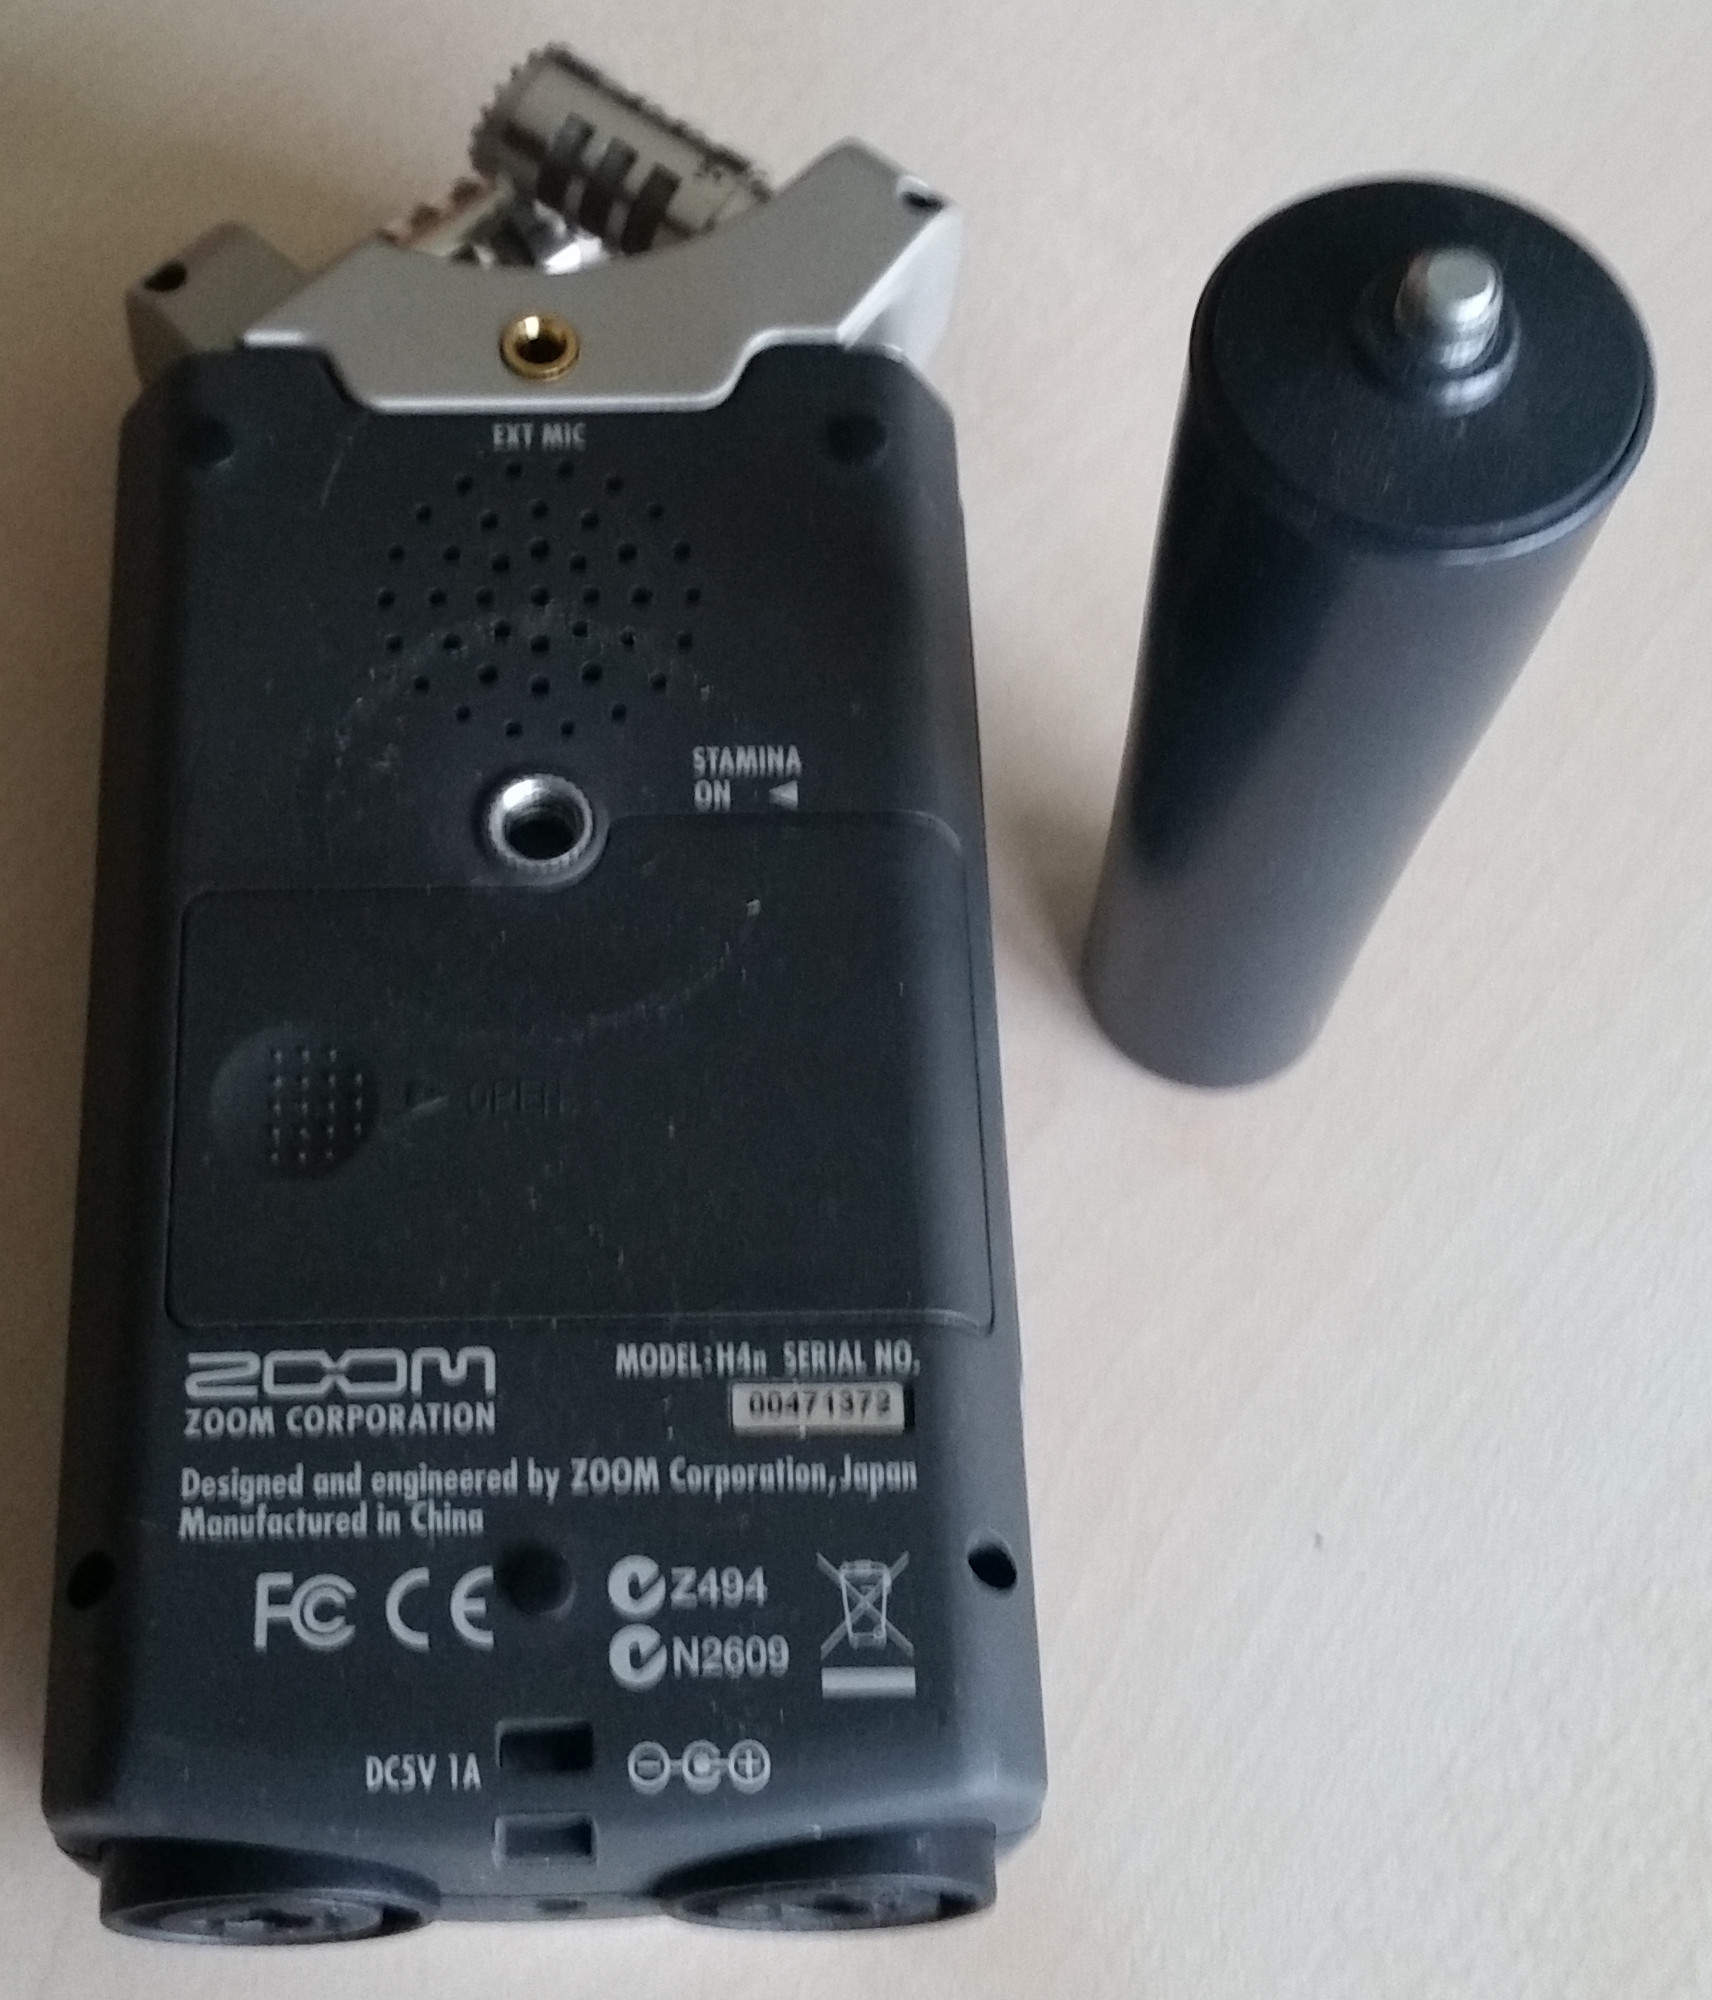
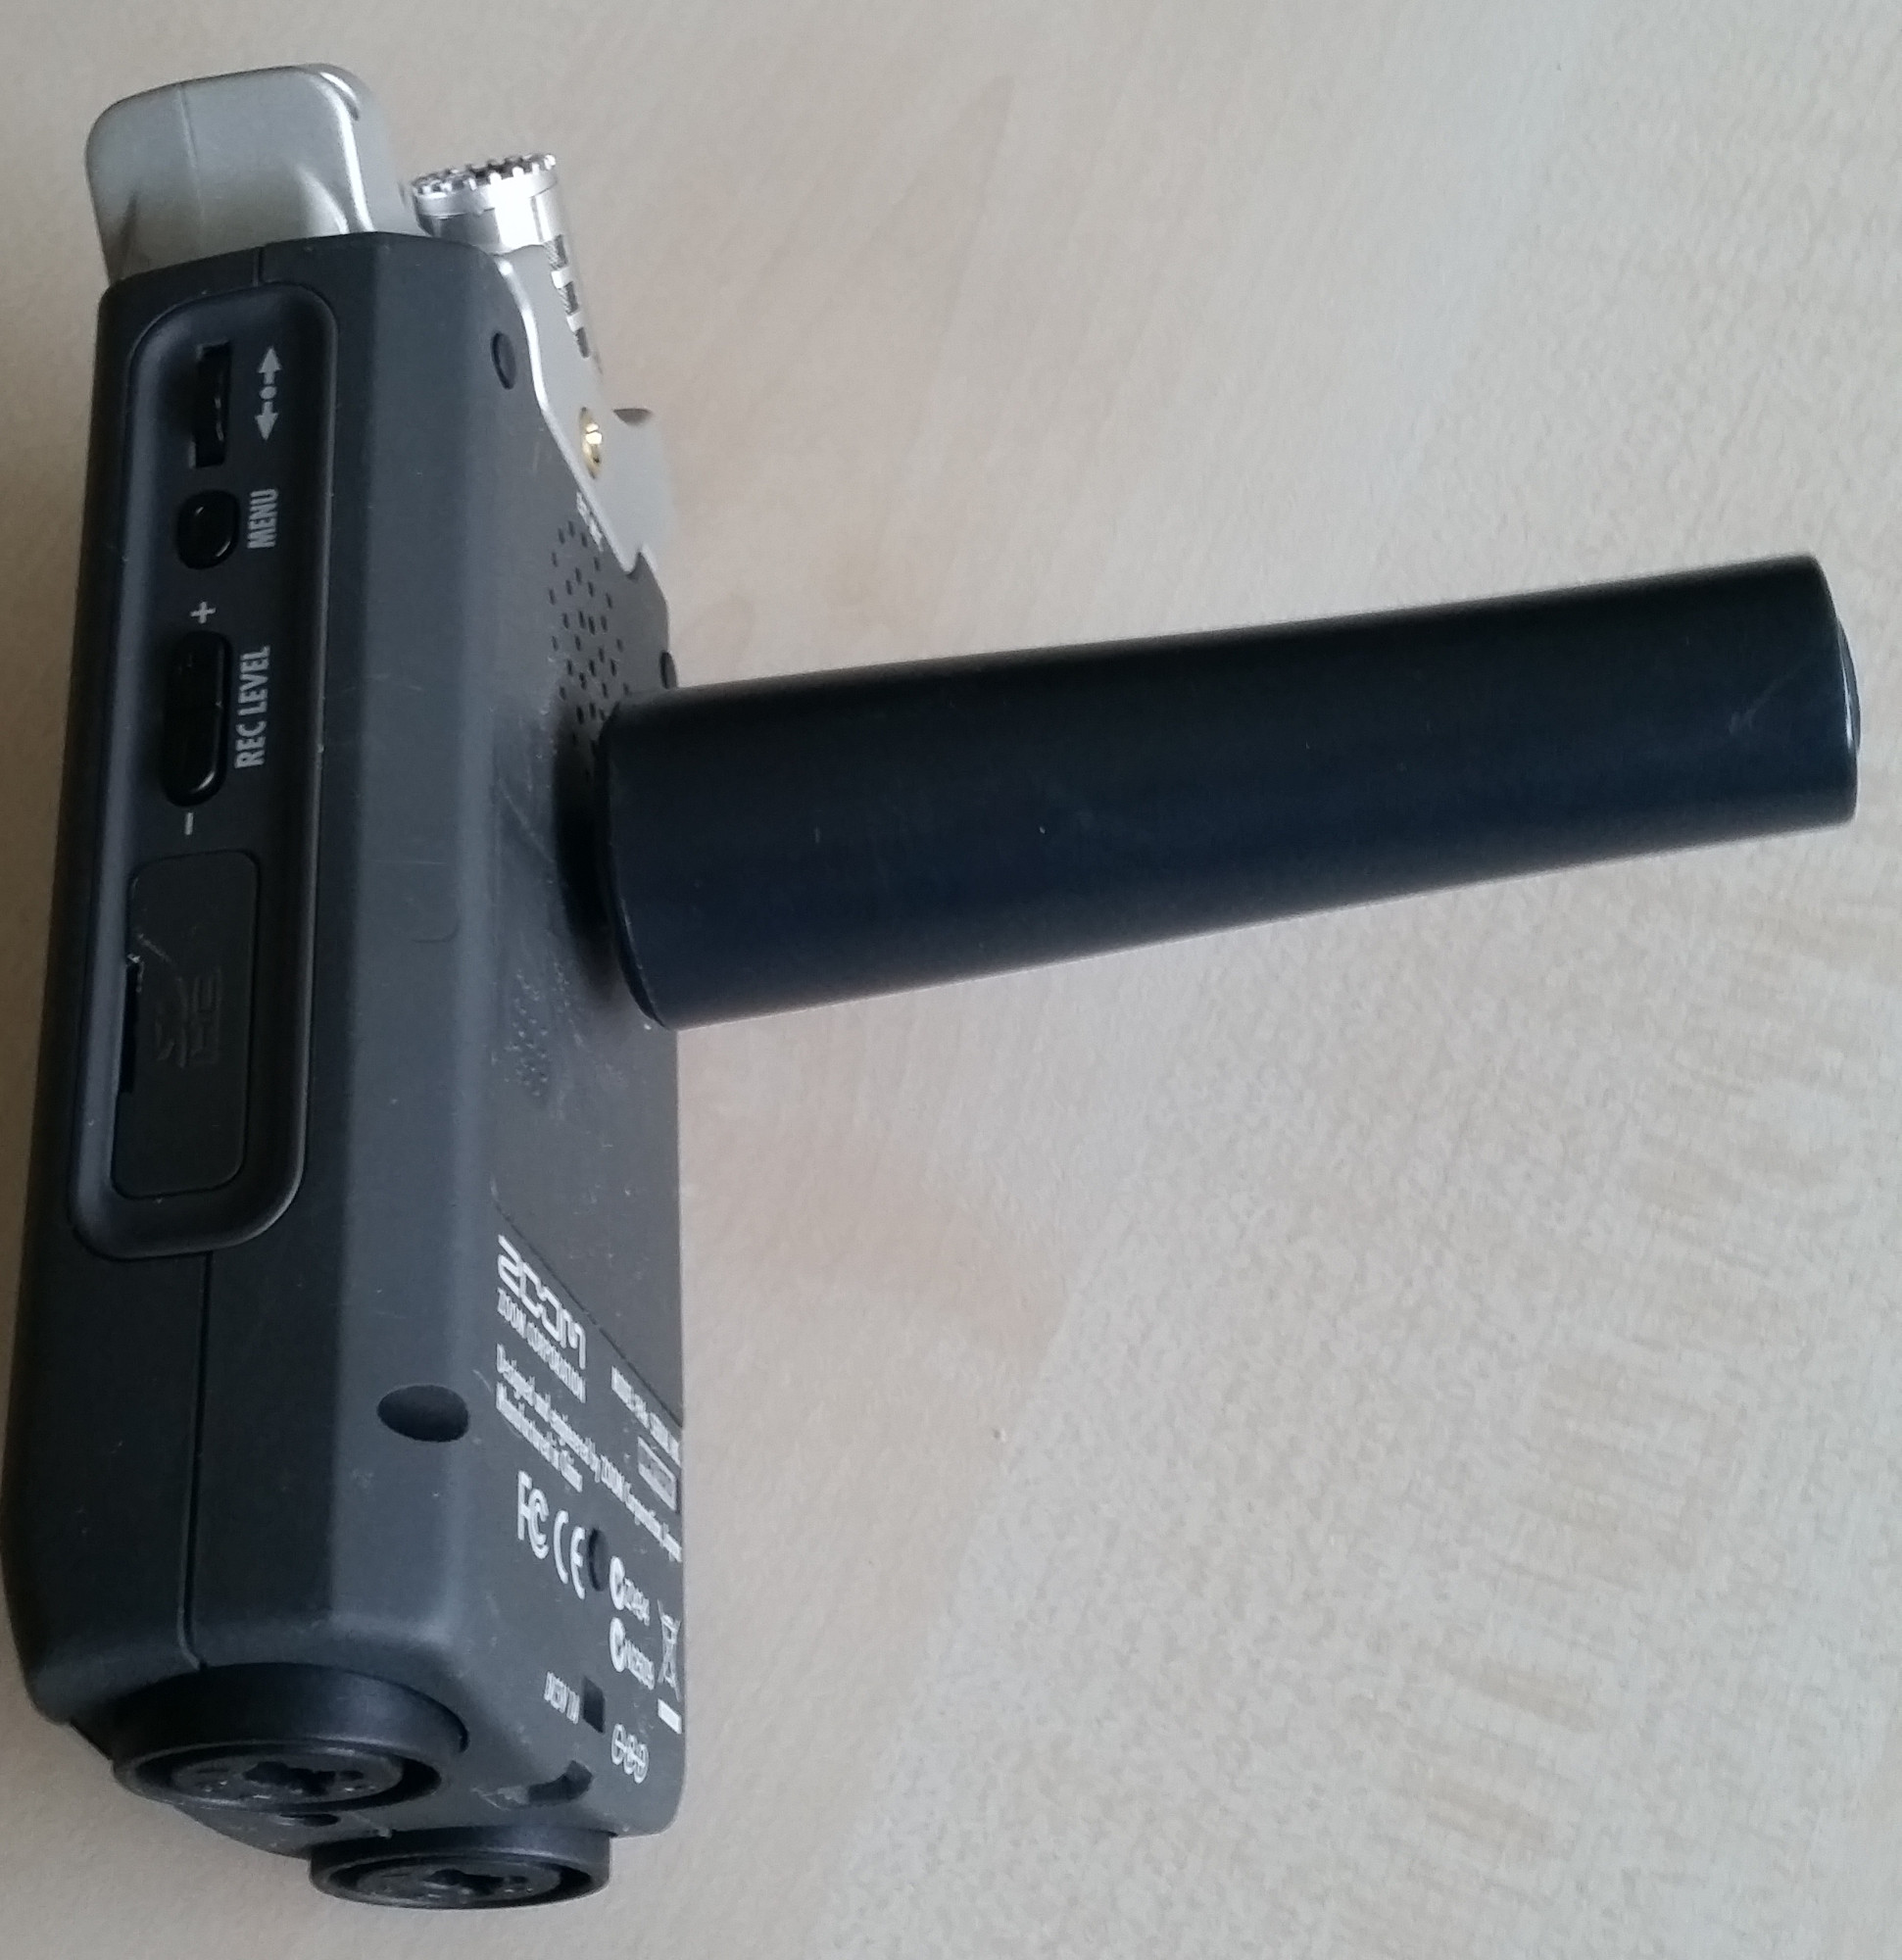
To attach the microphone to its stand, remove the cylinder from the clamp, screw it into the back of the microphone and stick it into the clamp again.
Camera
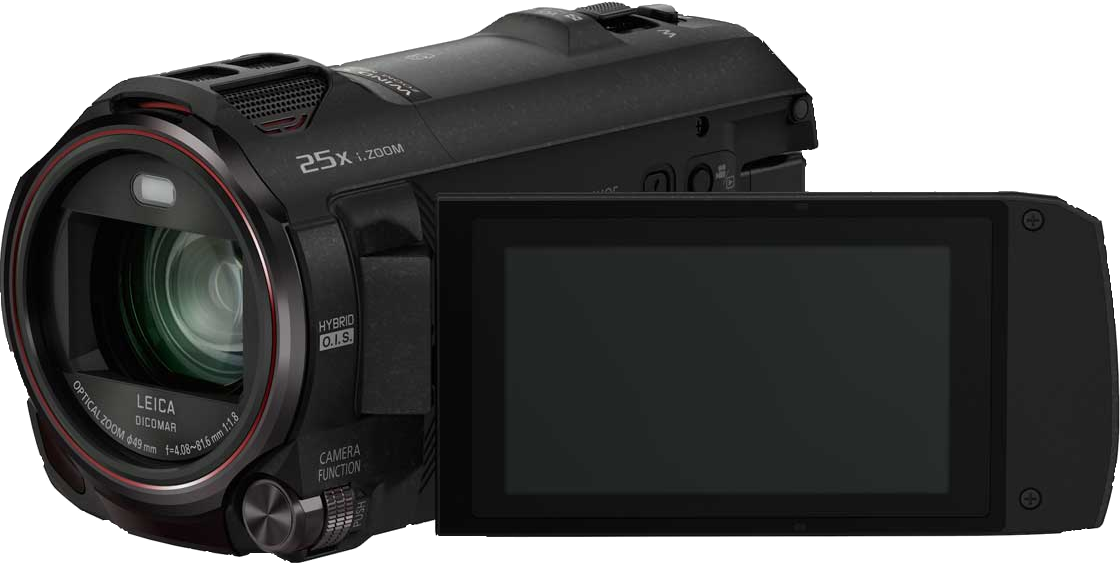
Position the camera in place so that it will record you.
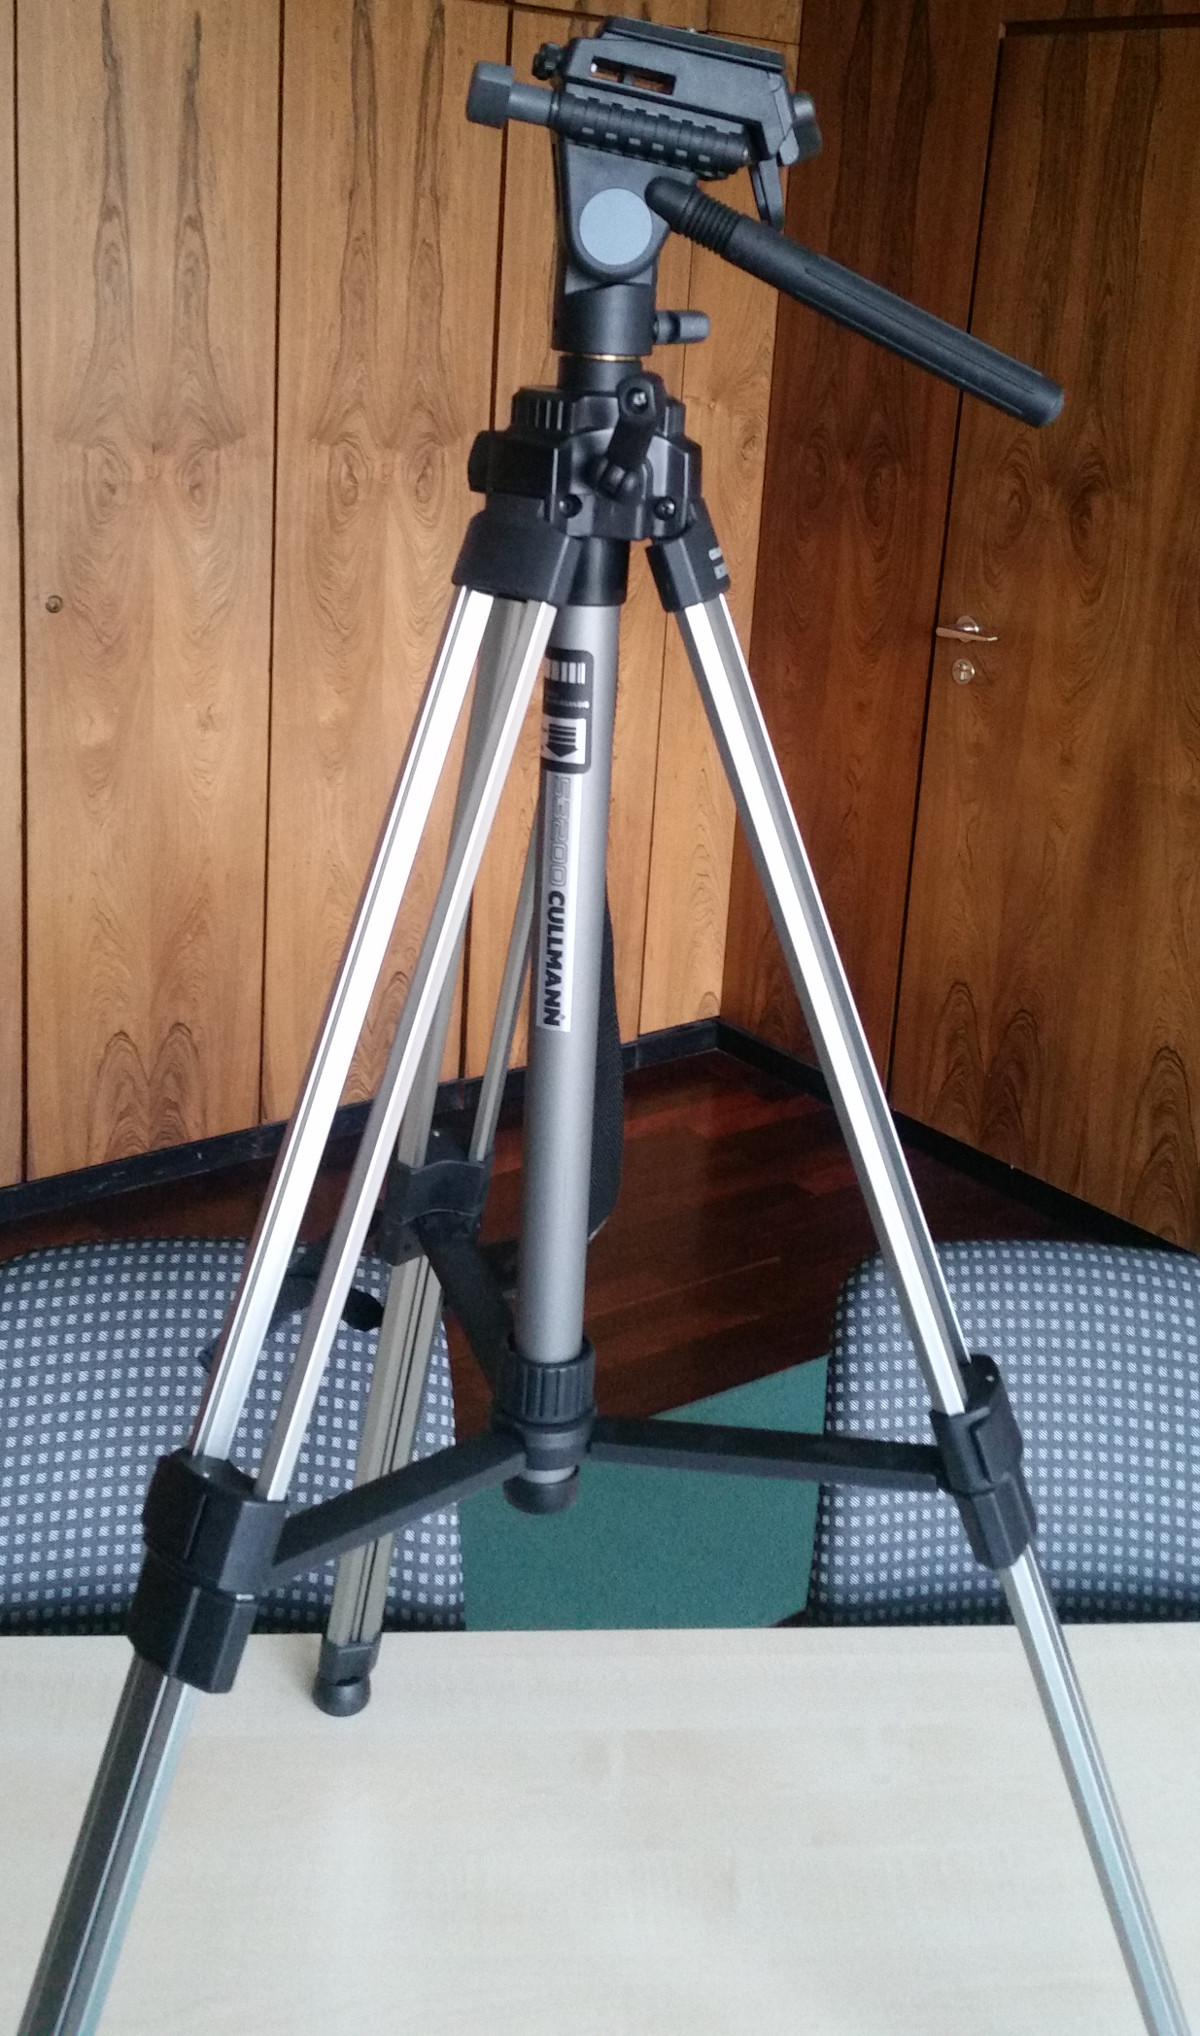
Use of the tripod is advised in order to ensure optimal positioning is possible.
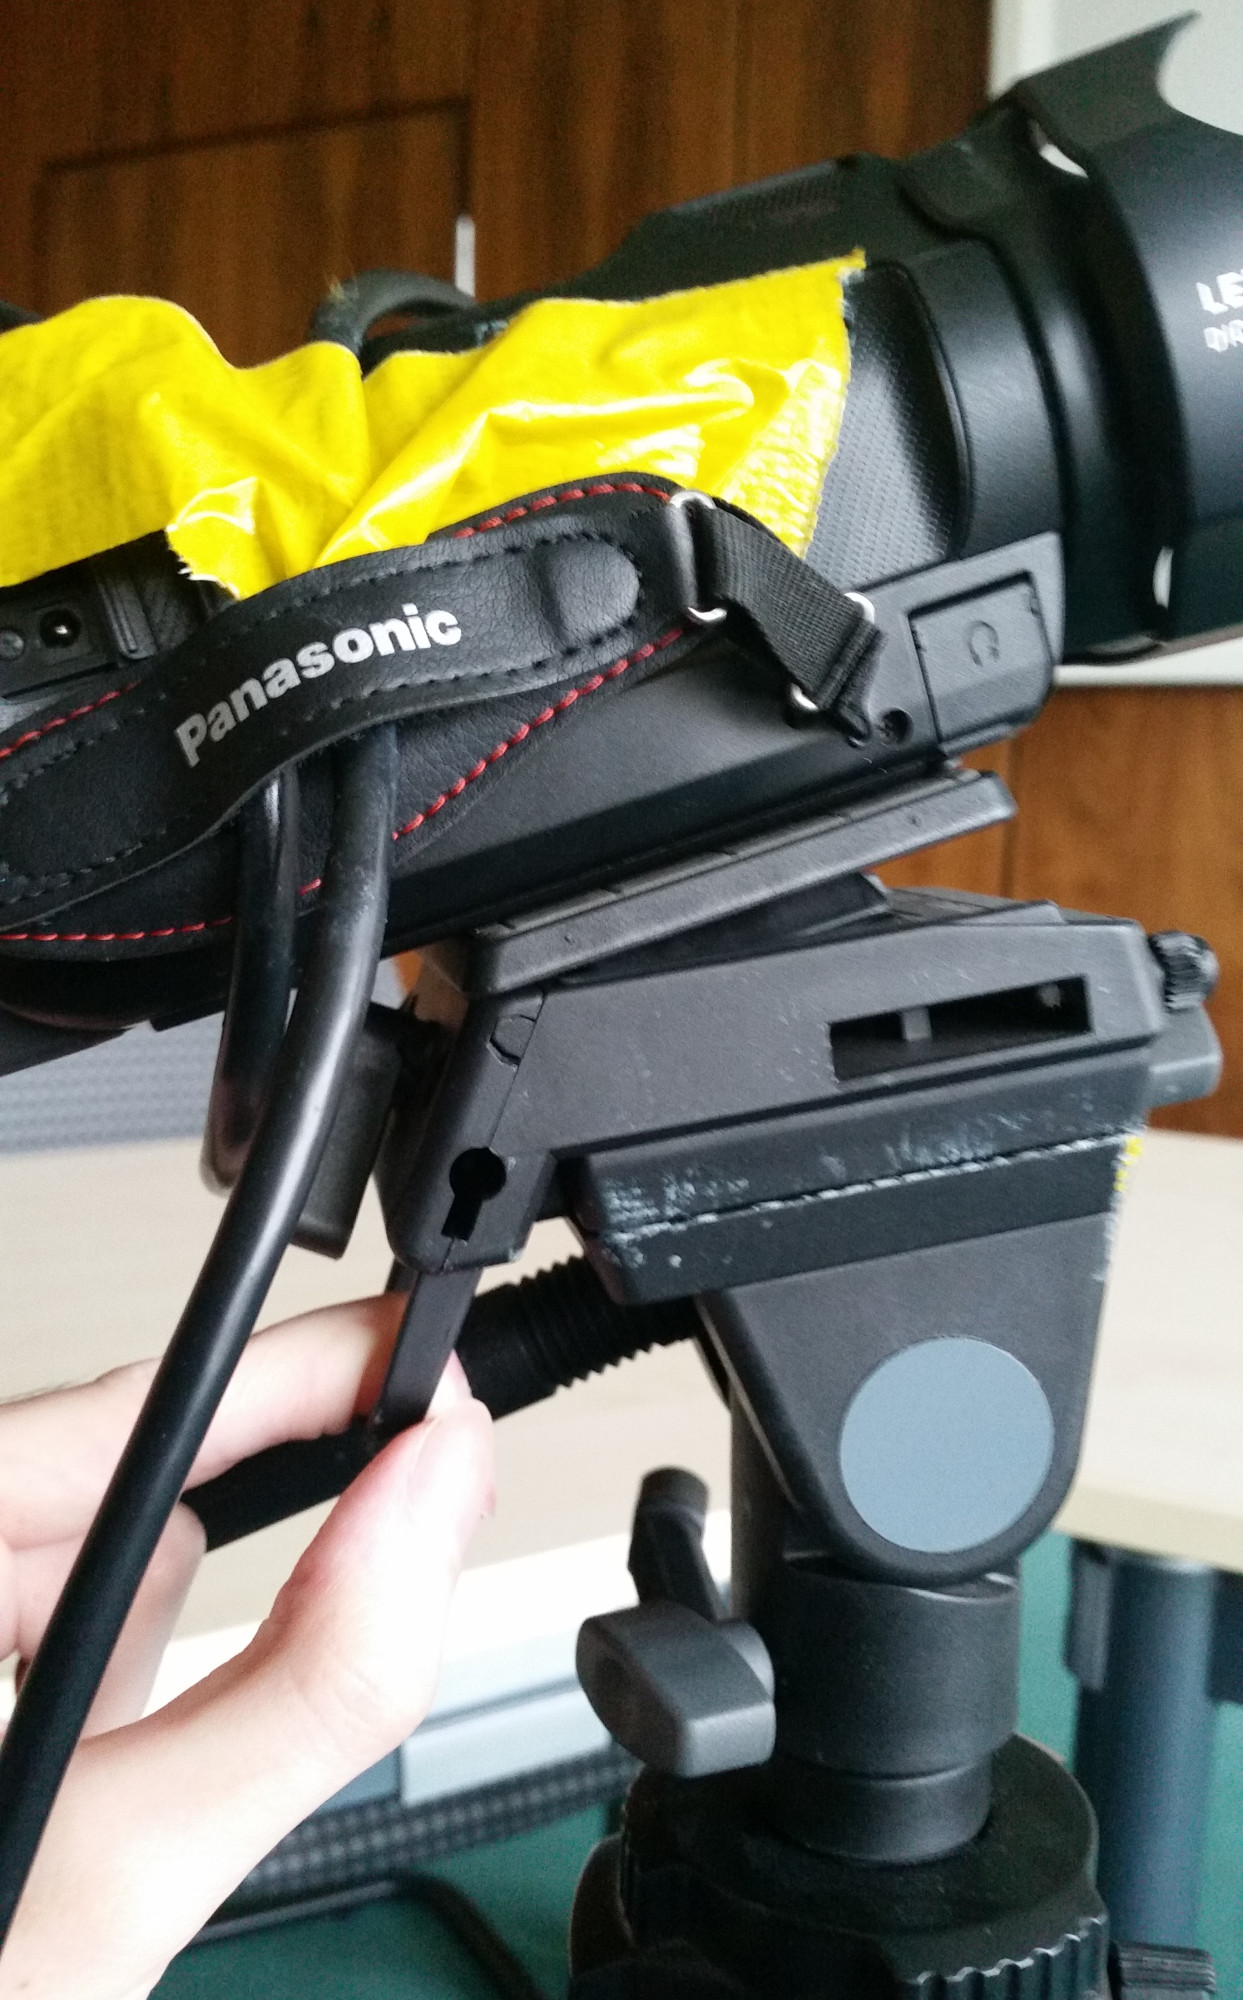
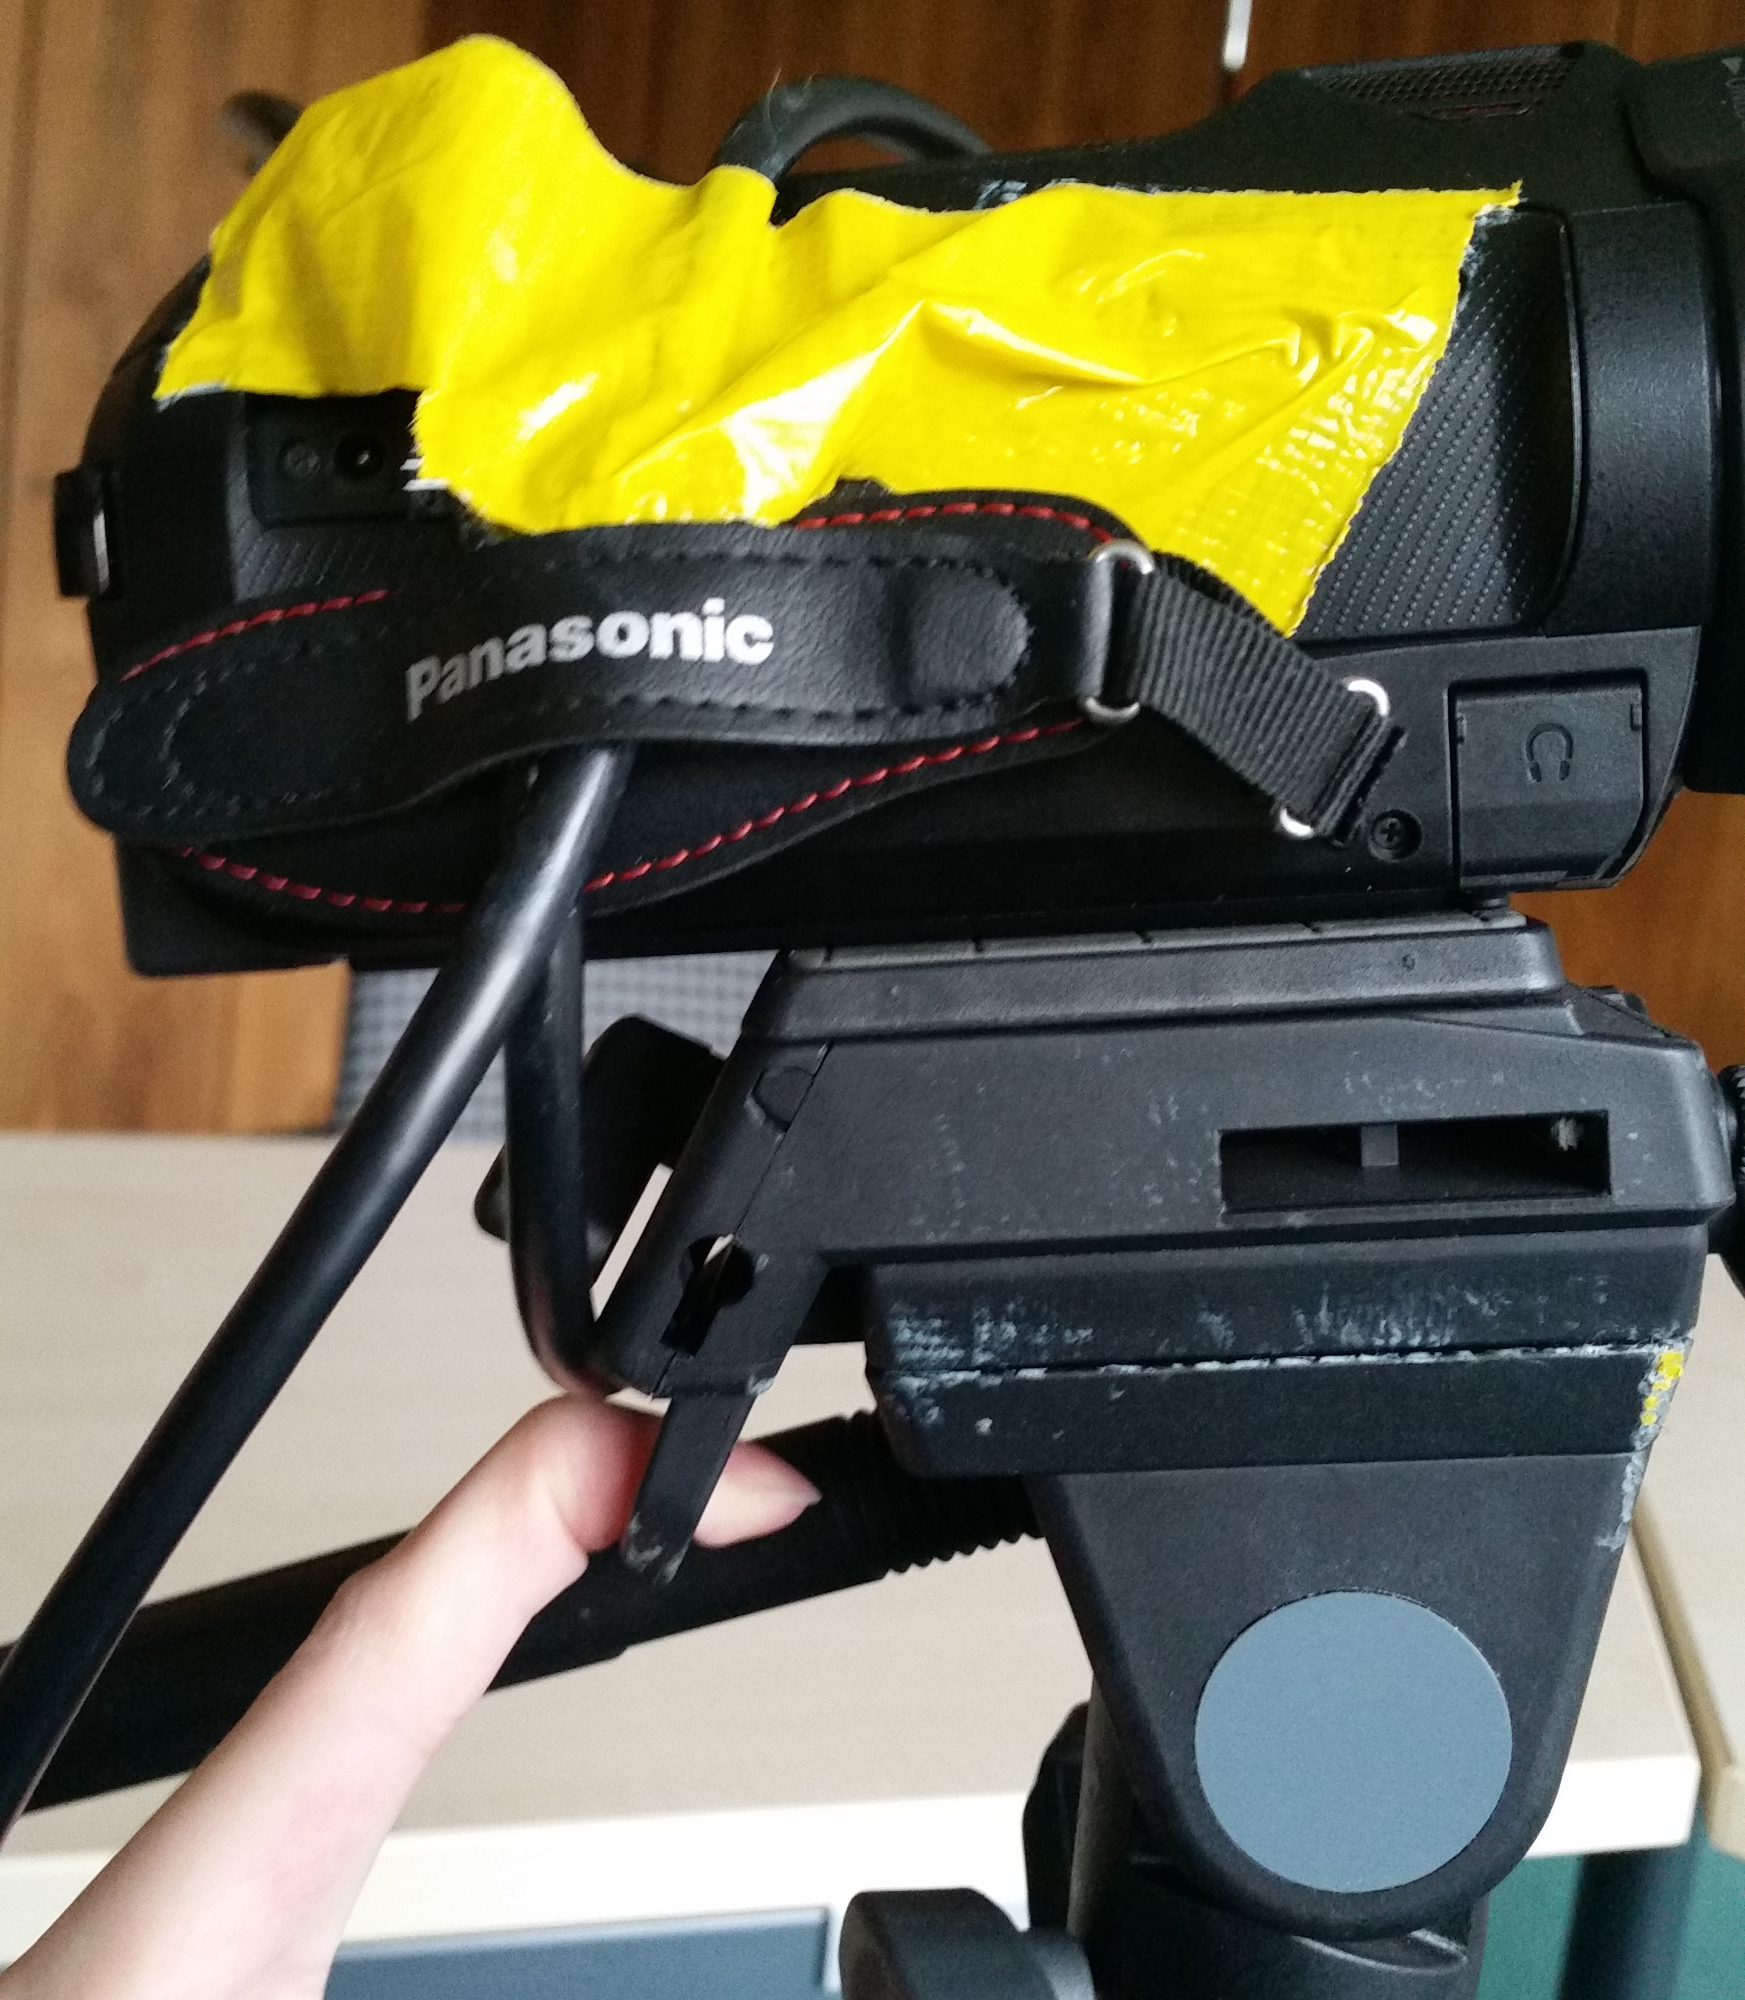
In order to securely connect the camera to the tripod, pull back the little plastic ring on the back of the tripod, place the camera on the tripod and then let go of the ring.

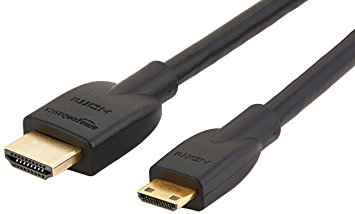
Plug the micro-HDMI end of the HDMI/microHDMI cable into the camera, connect the regular HDMI plug with the Galicaster's HDMI input.
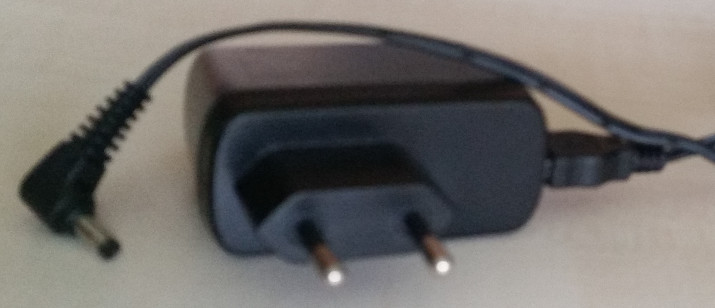
Connect the camera's power cable and plug it into a power outlet.
Capture Agent
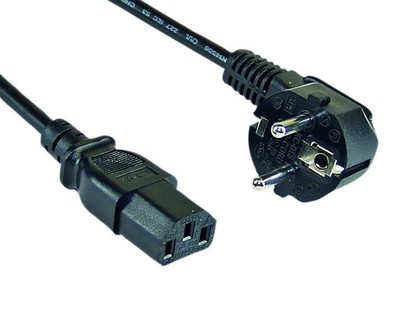
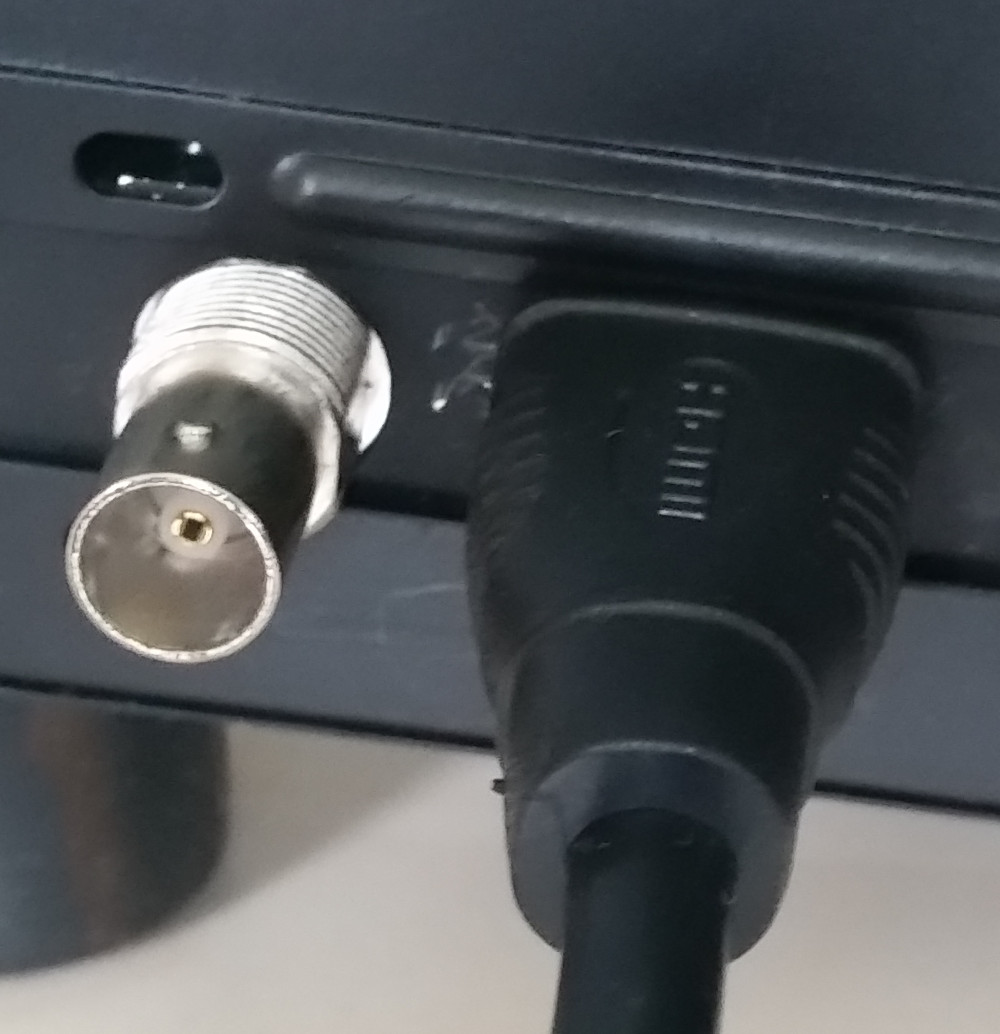
Once everything else is set up, connect the Galicaster's power cable and plug it into a power outlet.
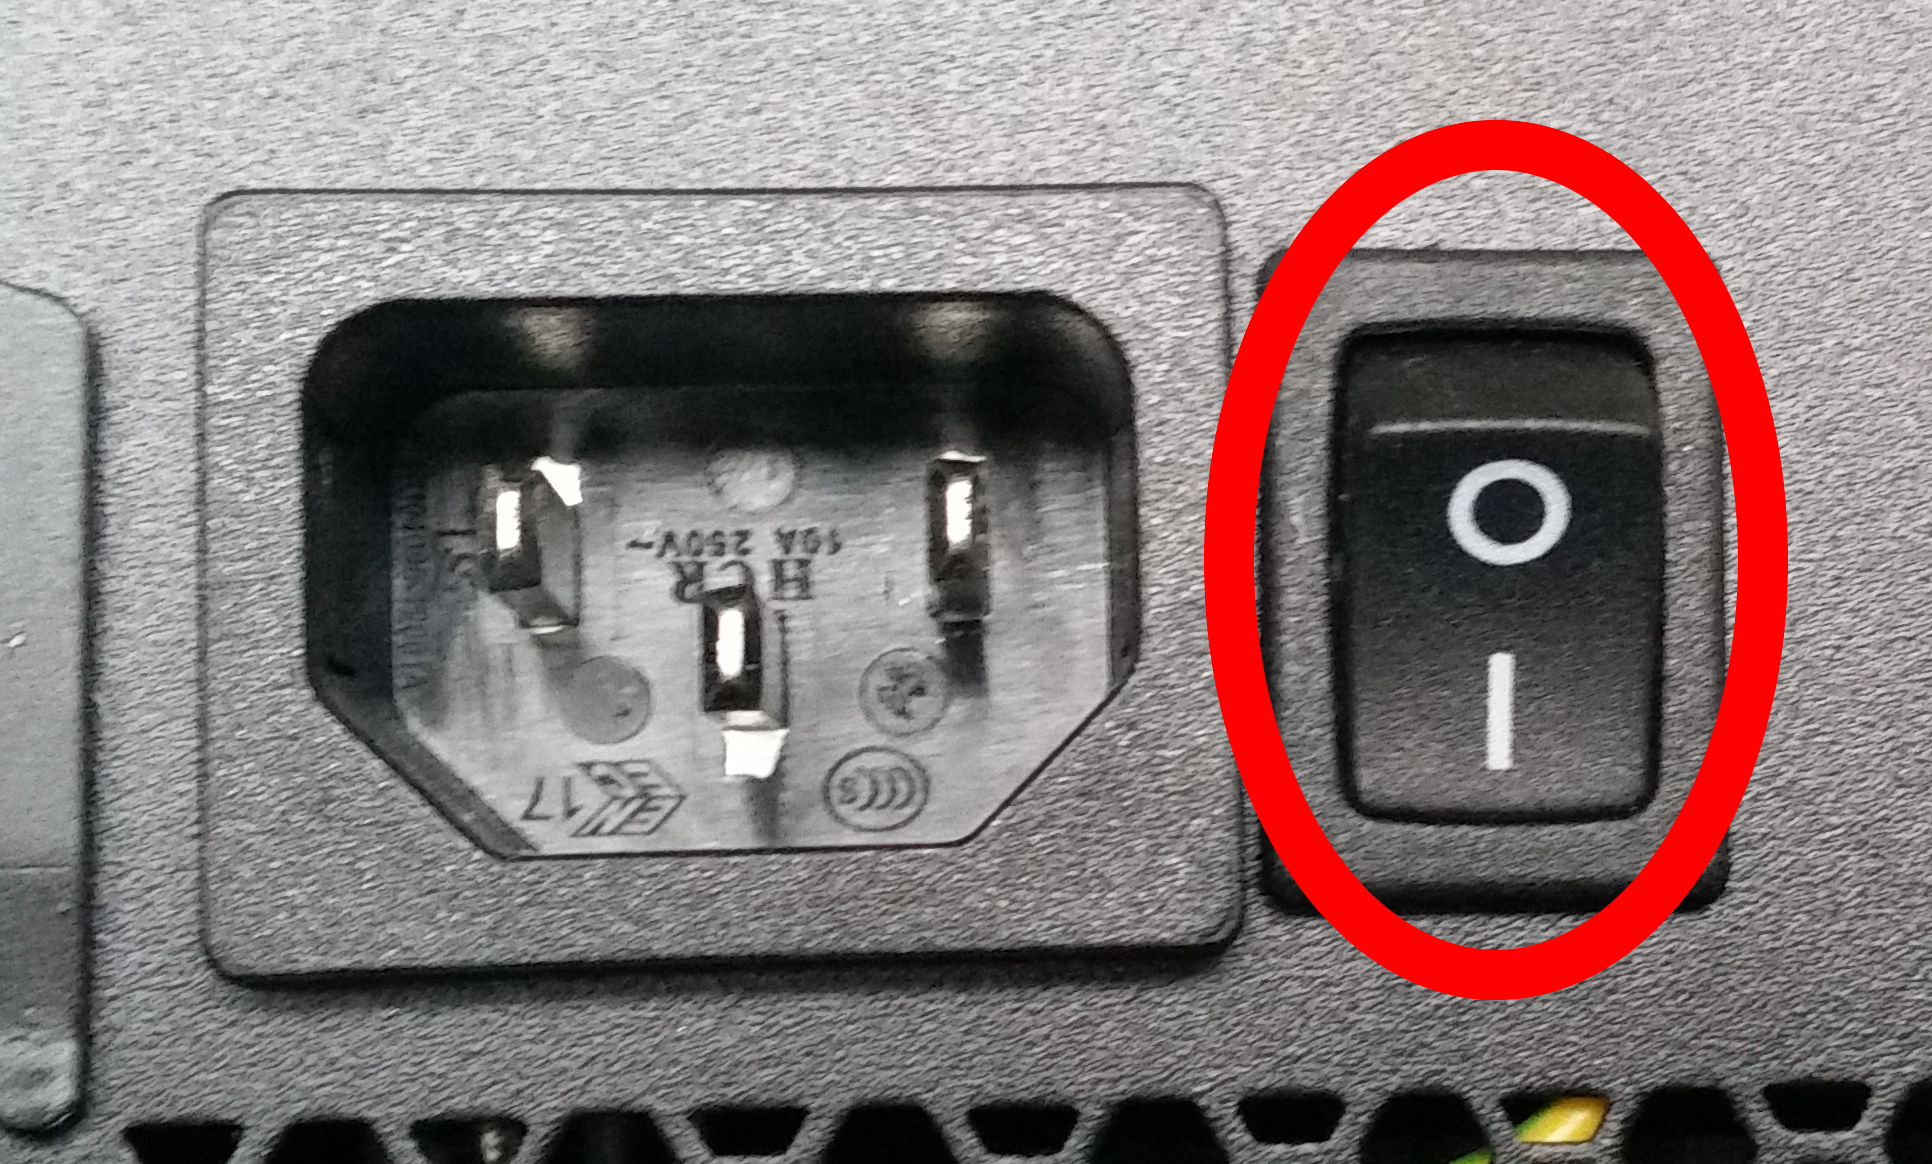
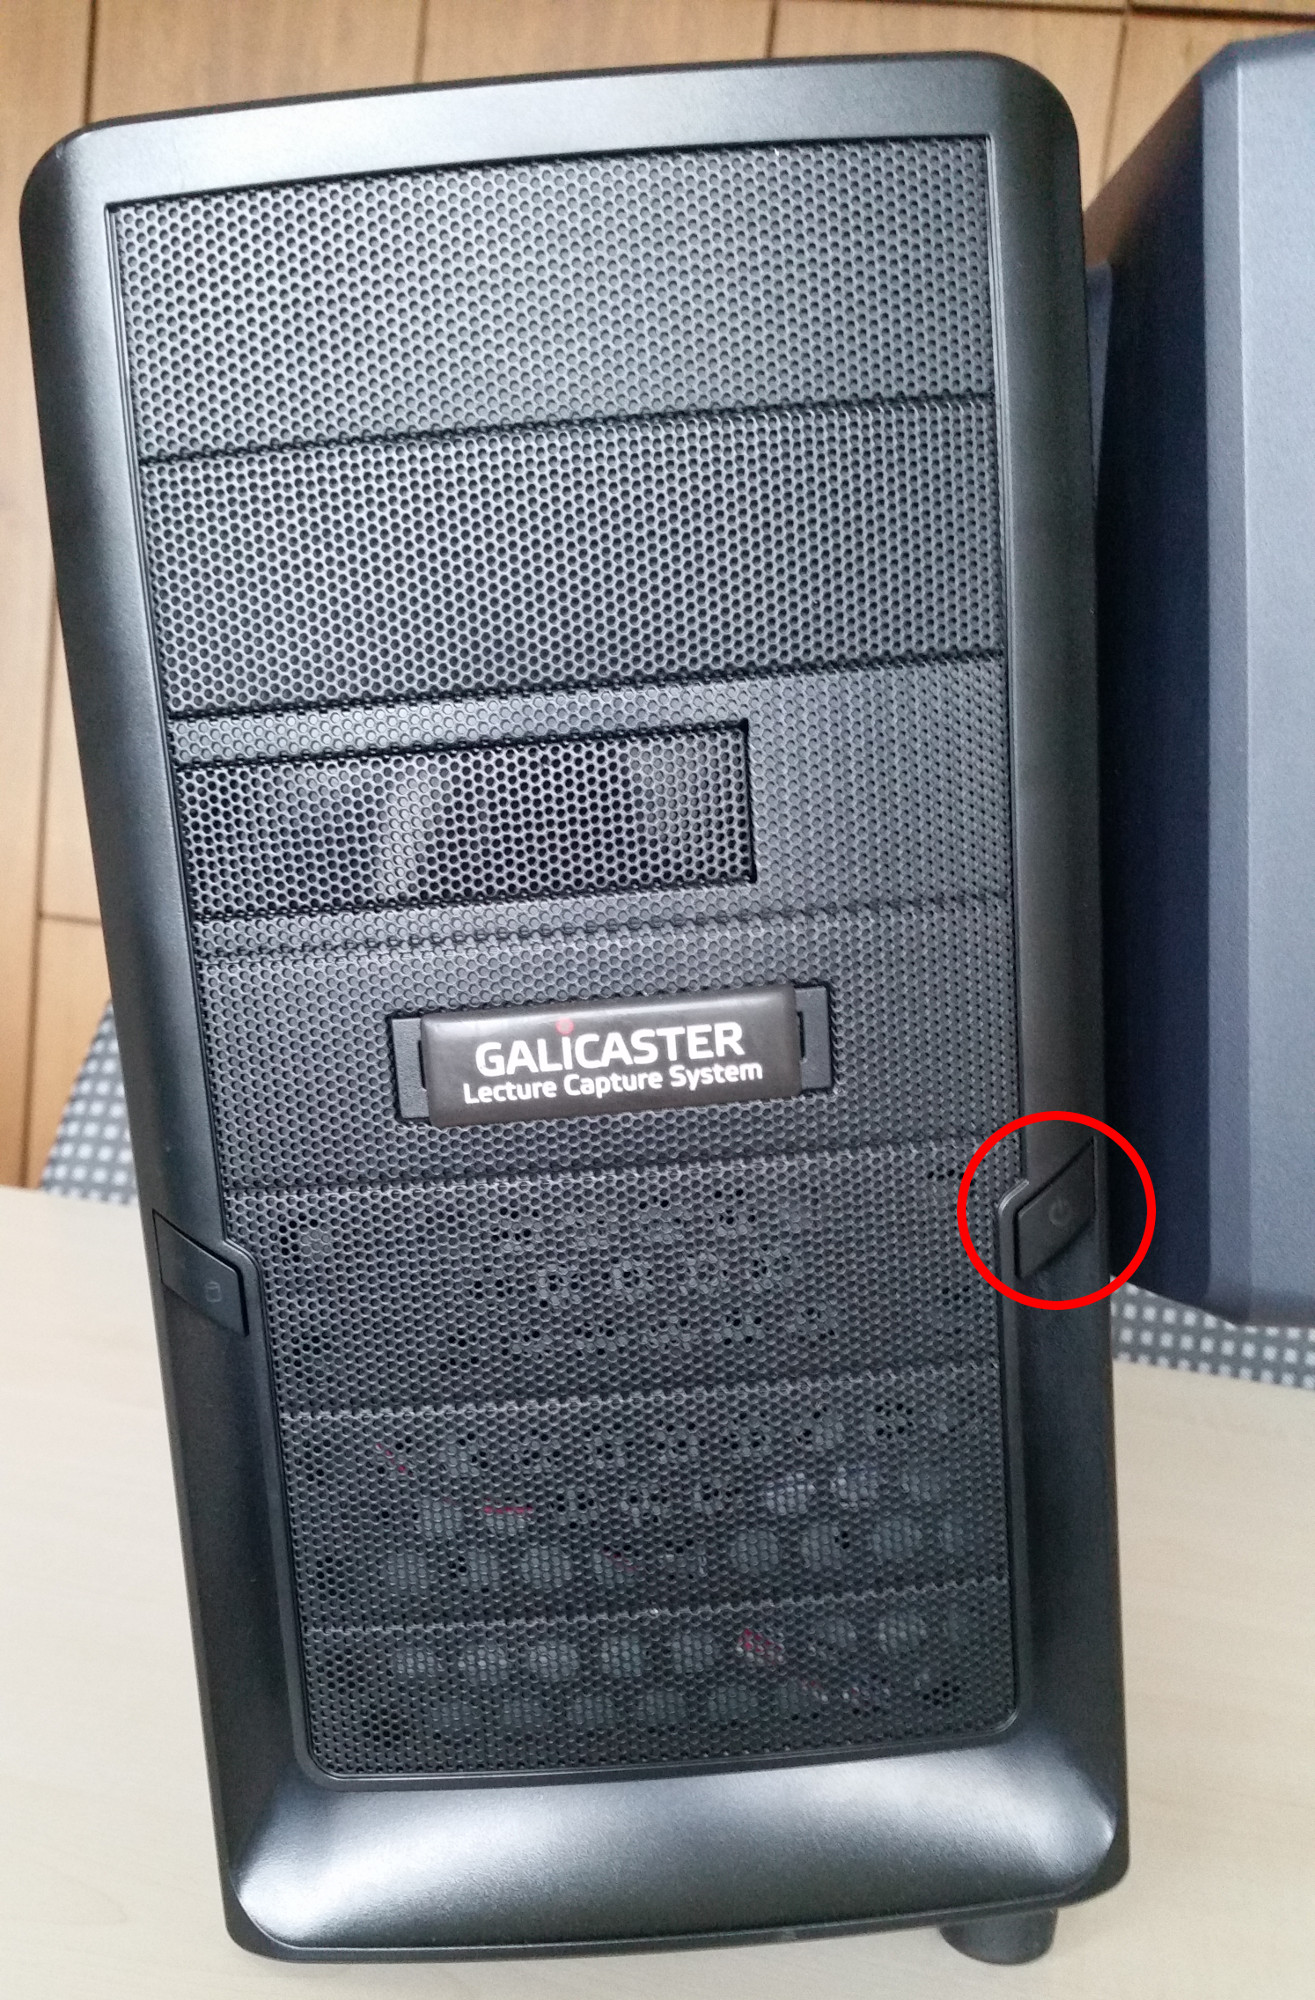
The Galicaster should boot up automatically, if it doesn't make sure the power supply switch is set to 1 (one) and press the on/off button on the front of the device.
Quick Overview
Recording your lecture
Once the Galicaster Capture Agent has finished booting up, you can use the touch screen to start and stop recording your lecture. Simply press the tile labeled “Recorder”, then press the “Record” button.
The device is now recording.
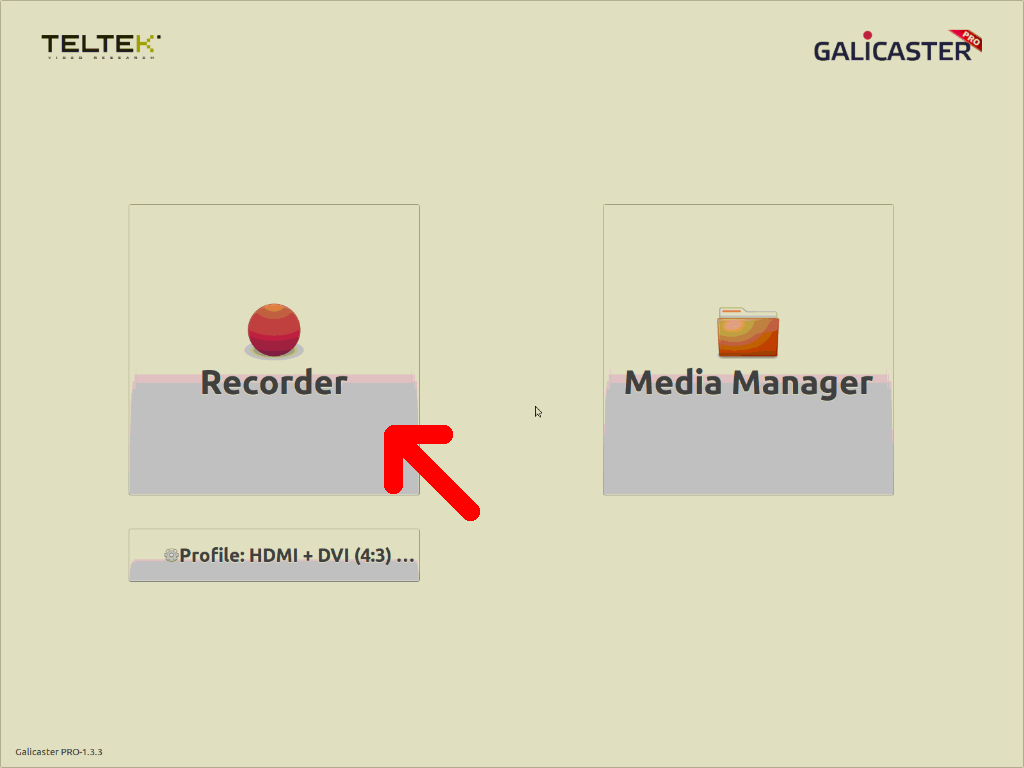
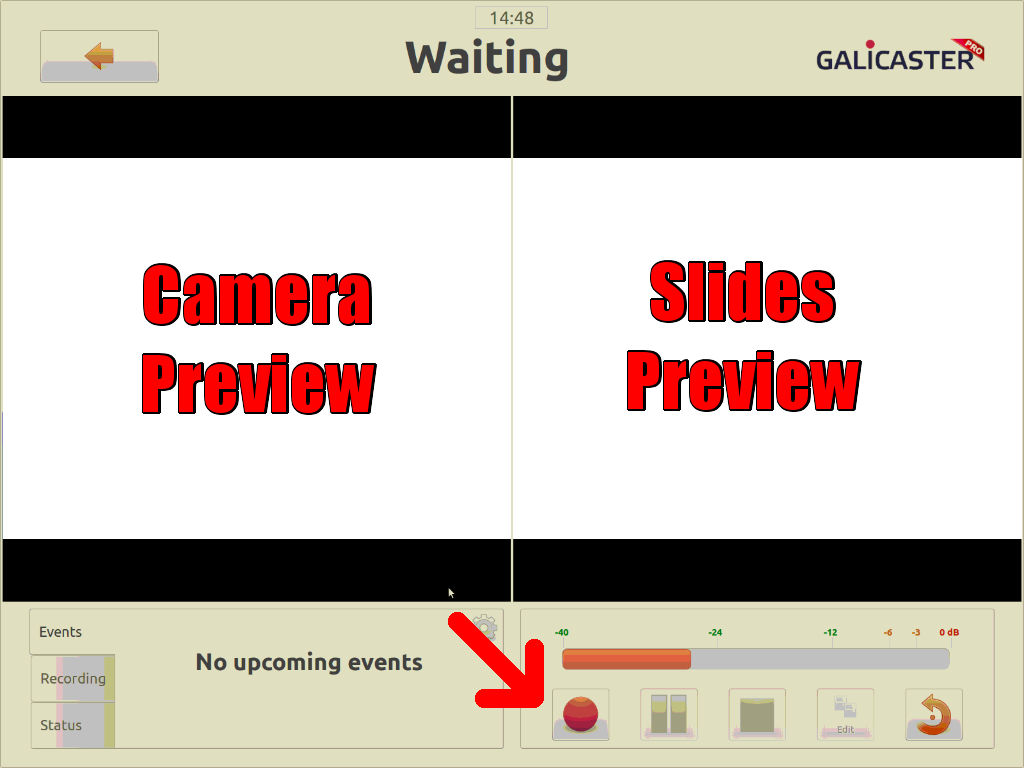
To end the recording process, simply press the “Stop” button once you have finished your lecture.
To shut down the device, press the on/off button on its front. It should power down within two minutes.
