- de
- en
En:pulte
This is an old revision of the document!
Table of Contents
Media Lecterns
The central seminar rooms and pools of the Institute of Computer Science include special lectern desks with audio and video connections for the projection and playback of audio/video media content. The following explains their usage in more detail.
Available Variations
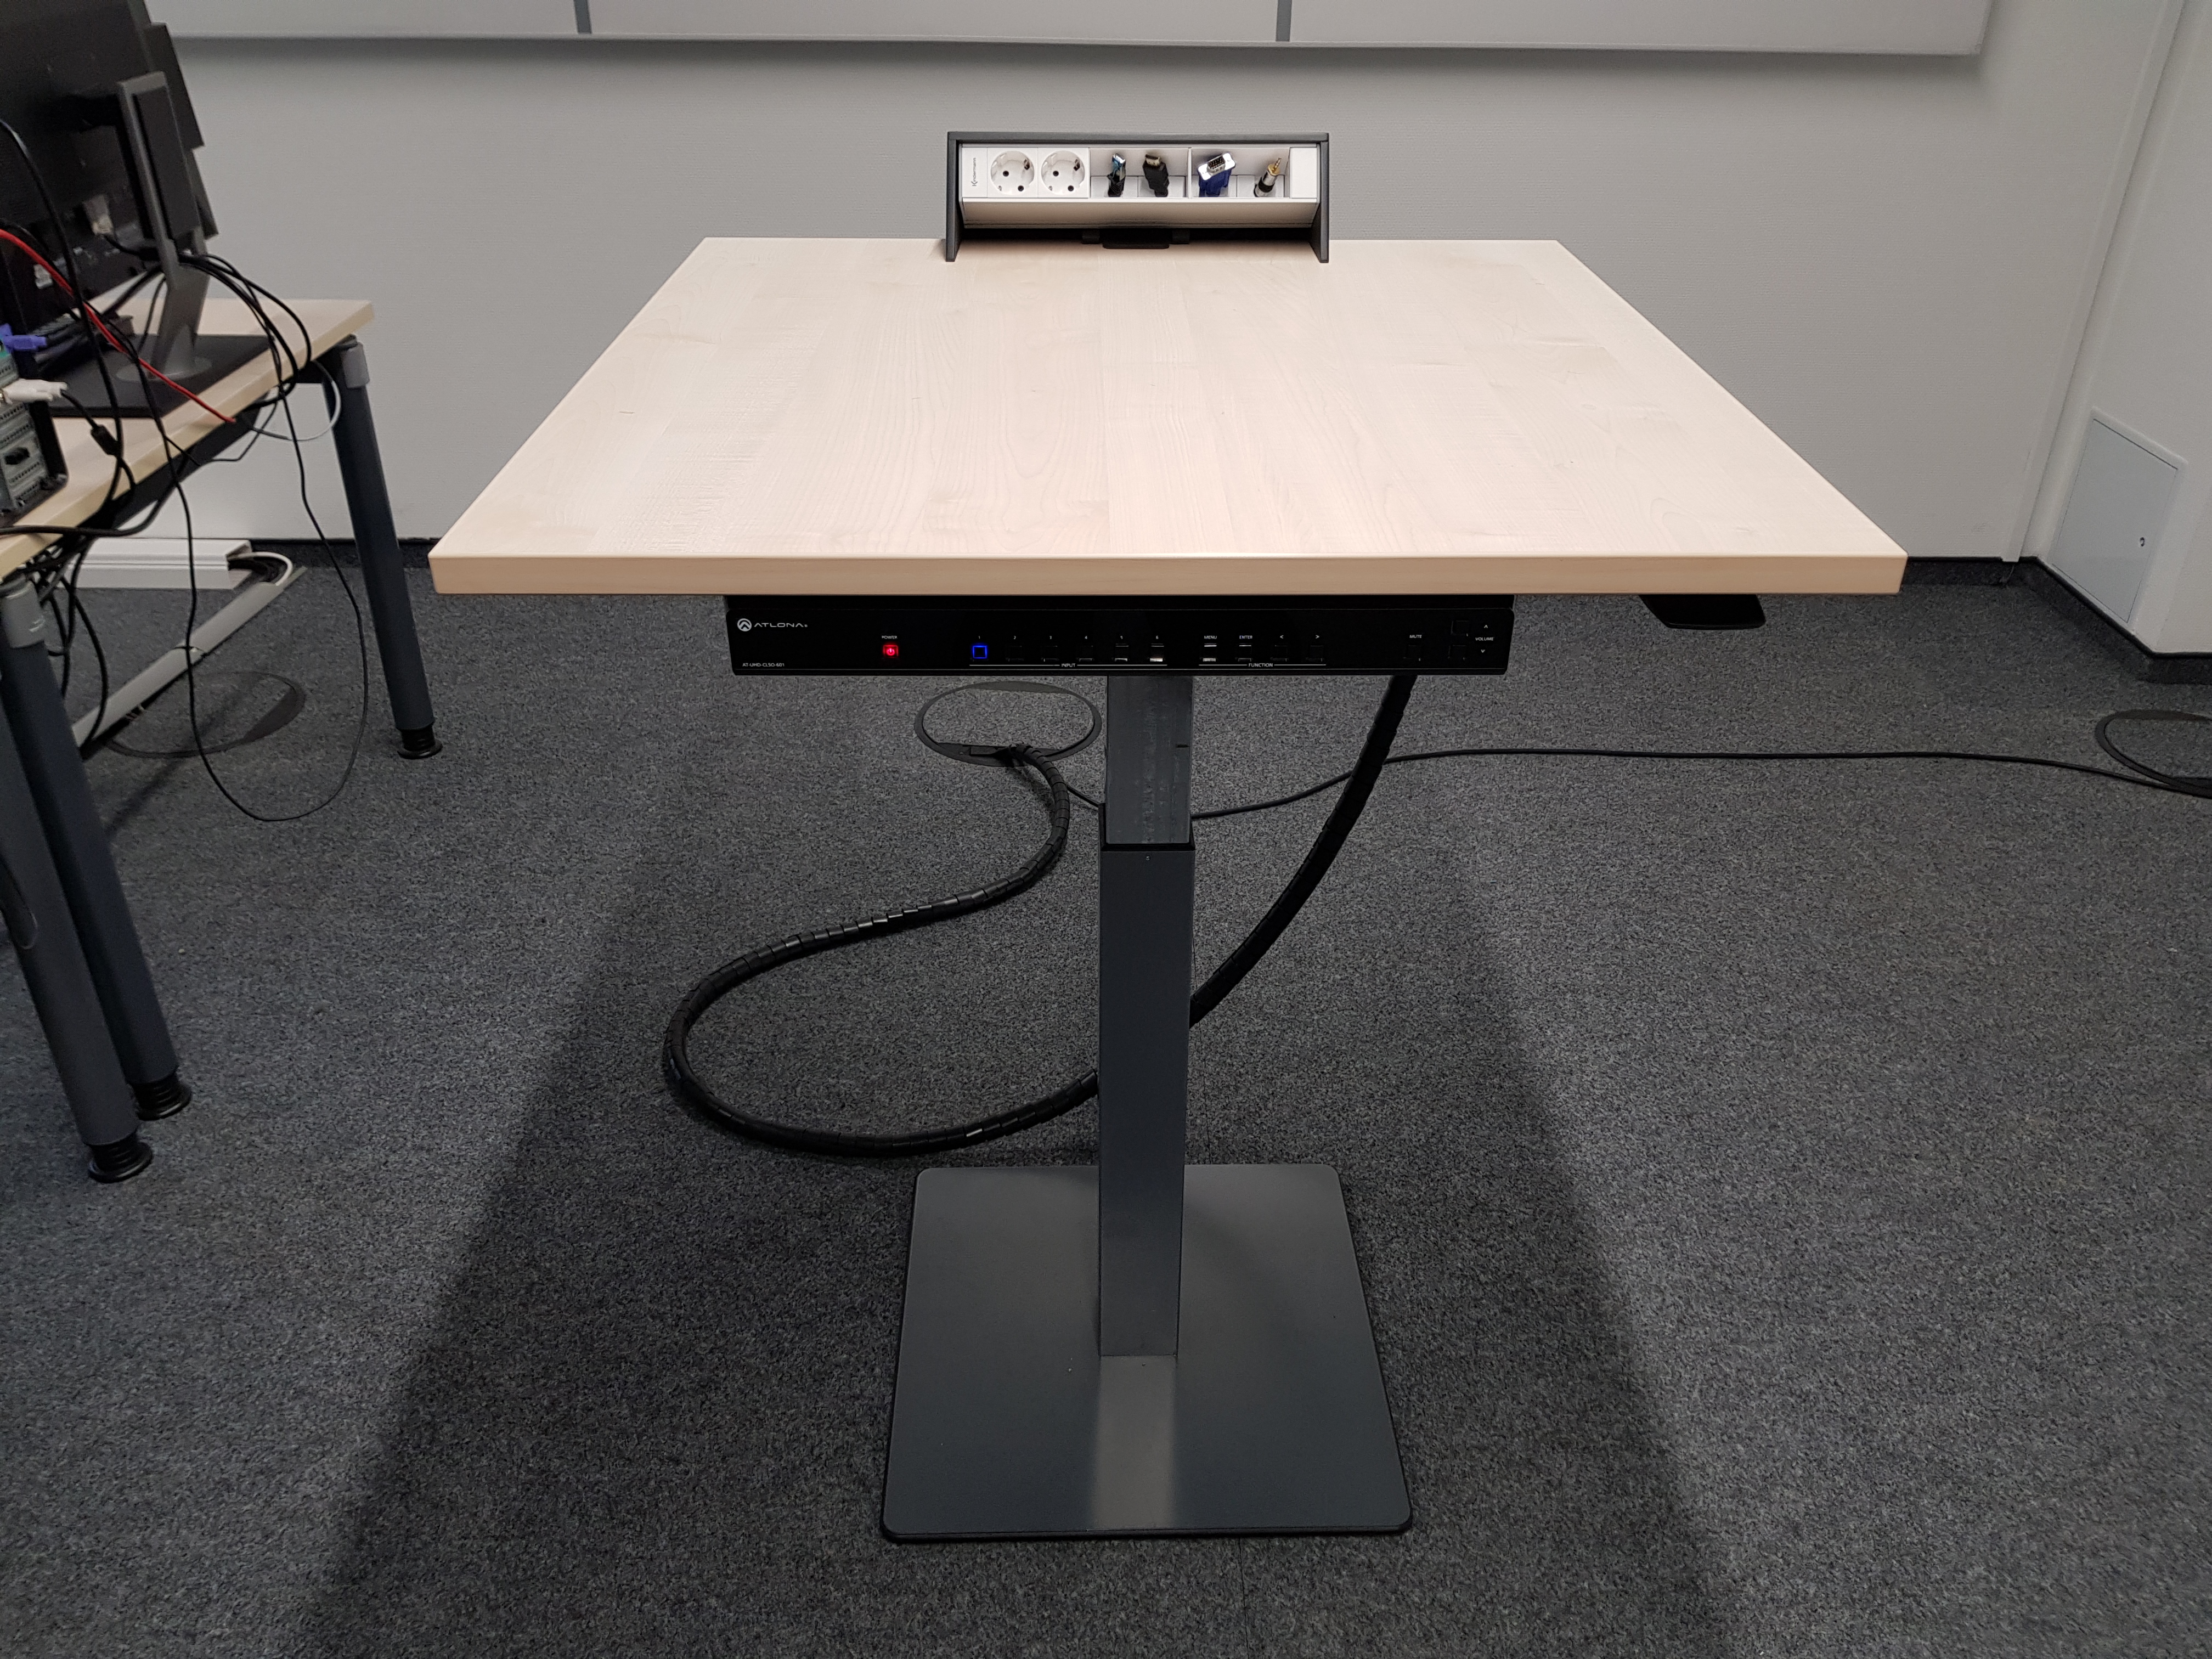
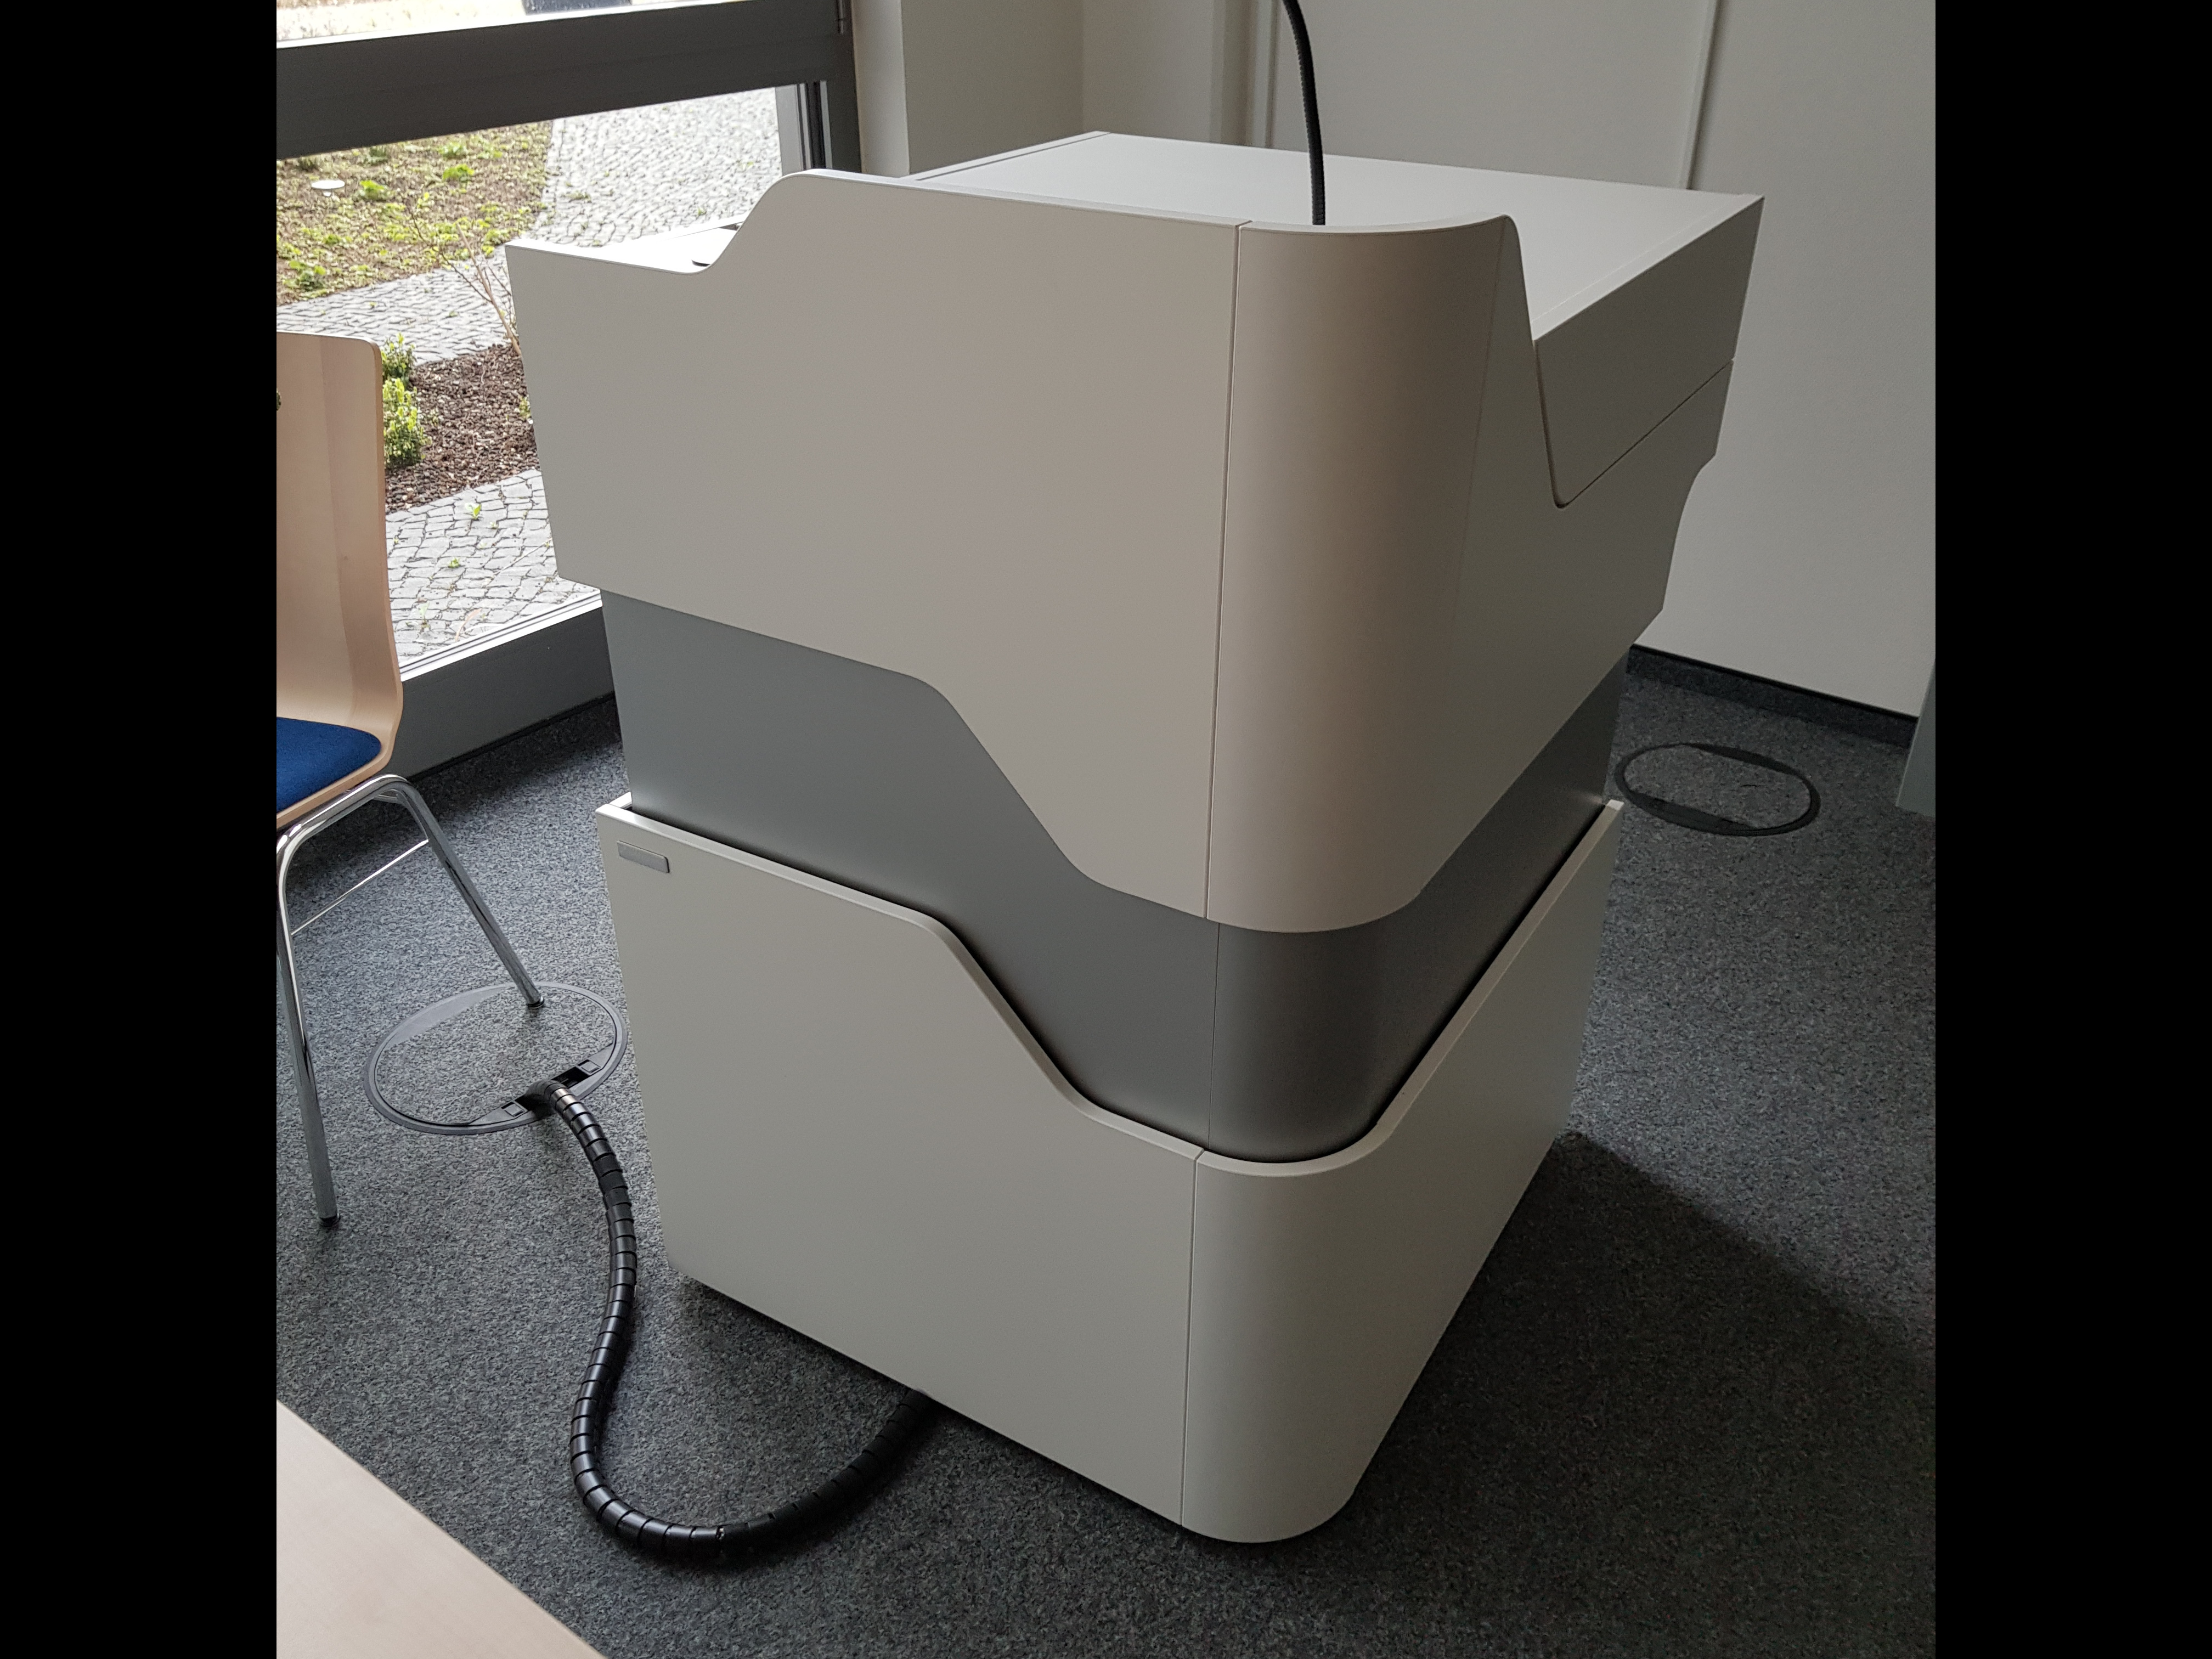
There are currently two different types of consoles available at the institute. One can be found in all central seminar rooms and pools, the others in larger, selected rooms:
The differences of both variantions lie mainly in the audio capabilities.
Connecting a device (Notebooks etc.)
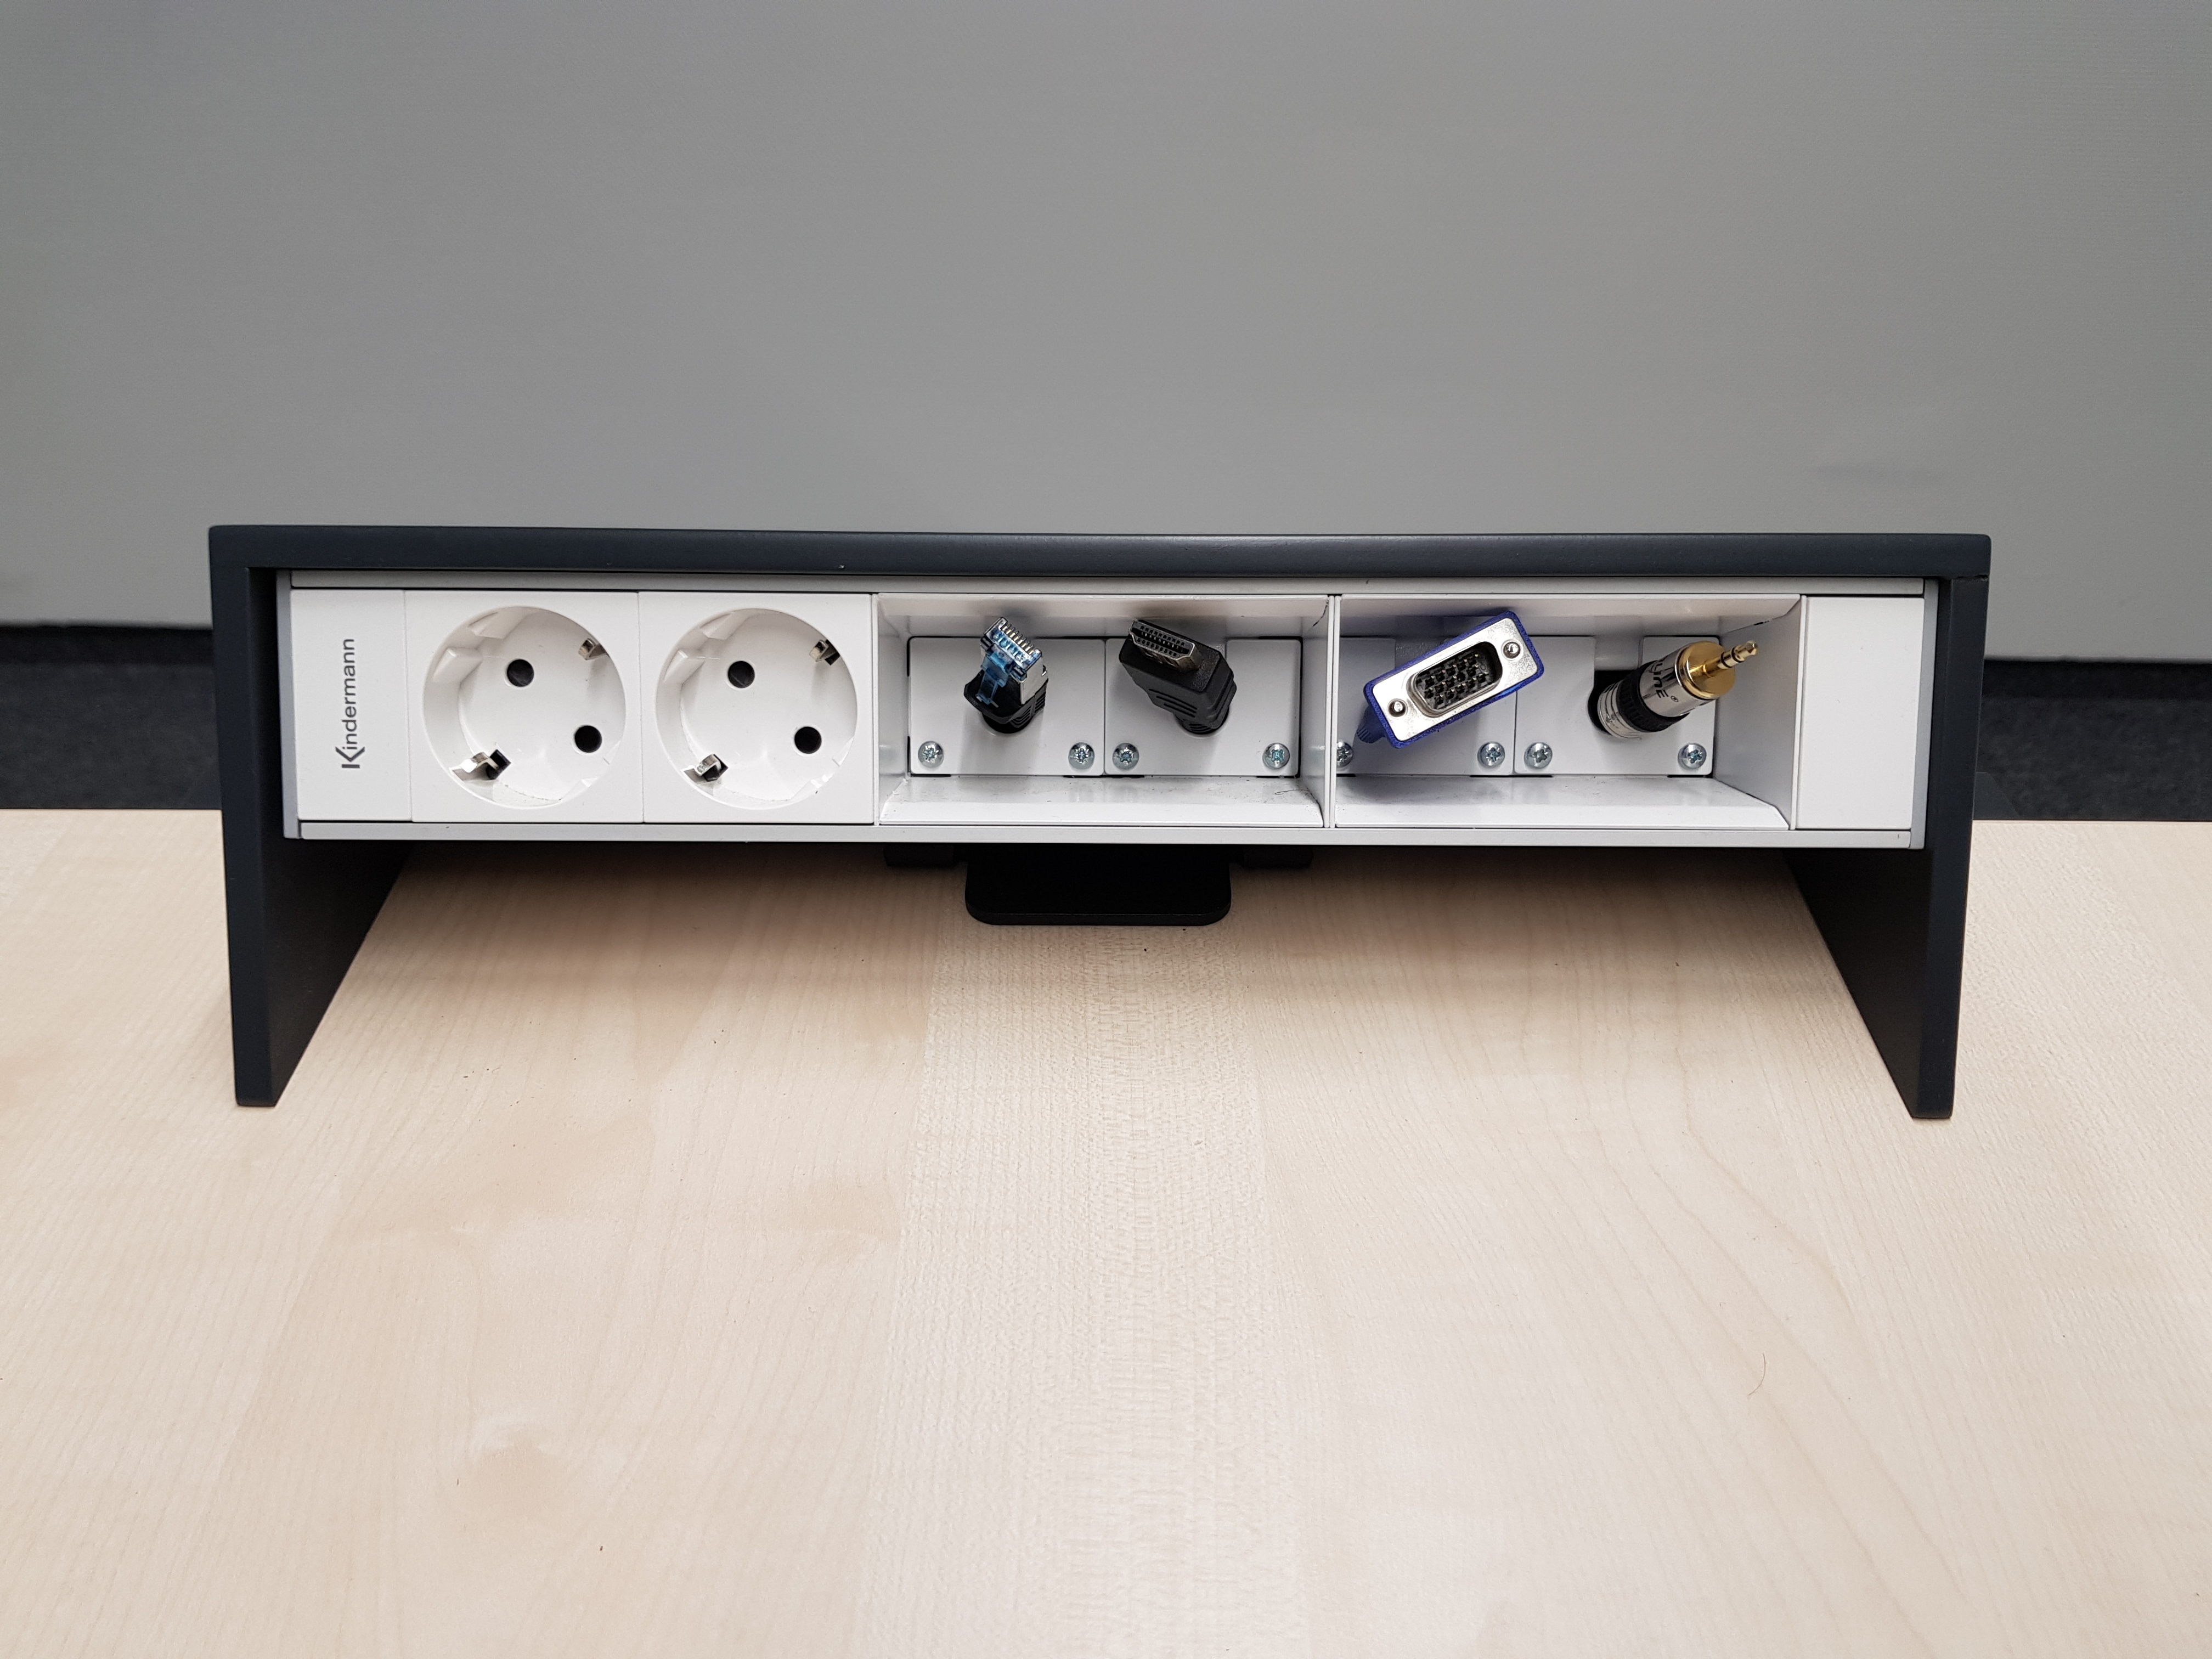
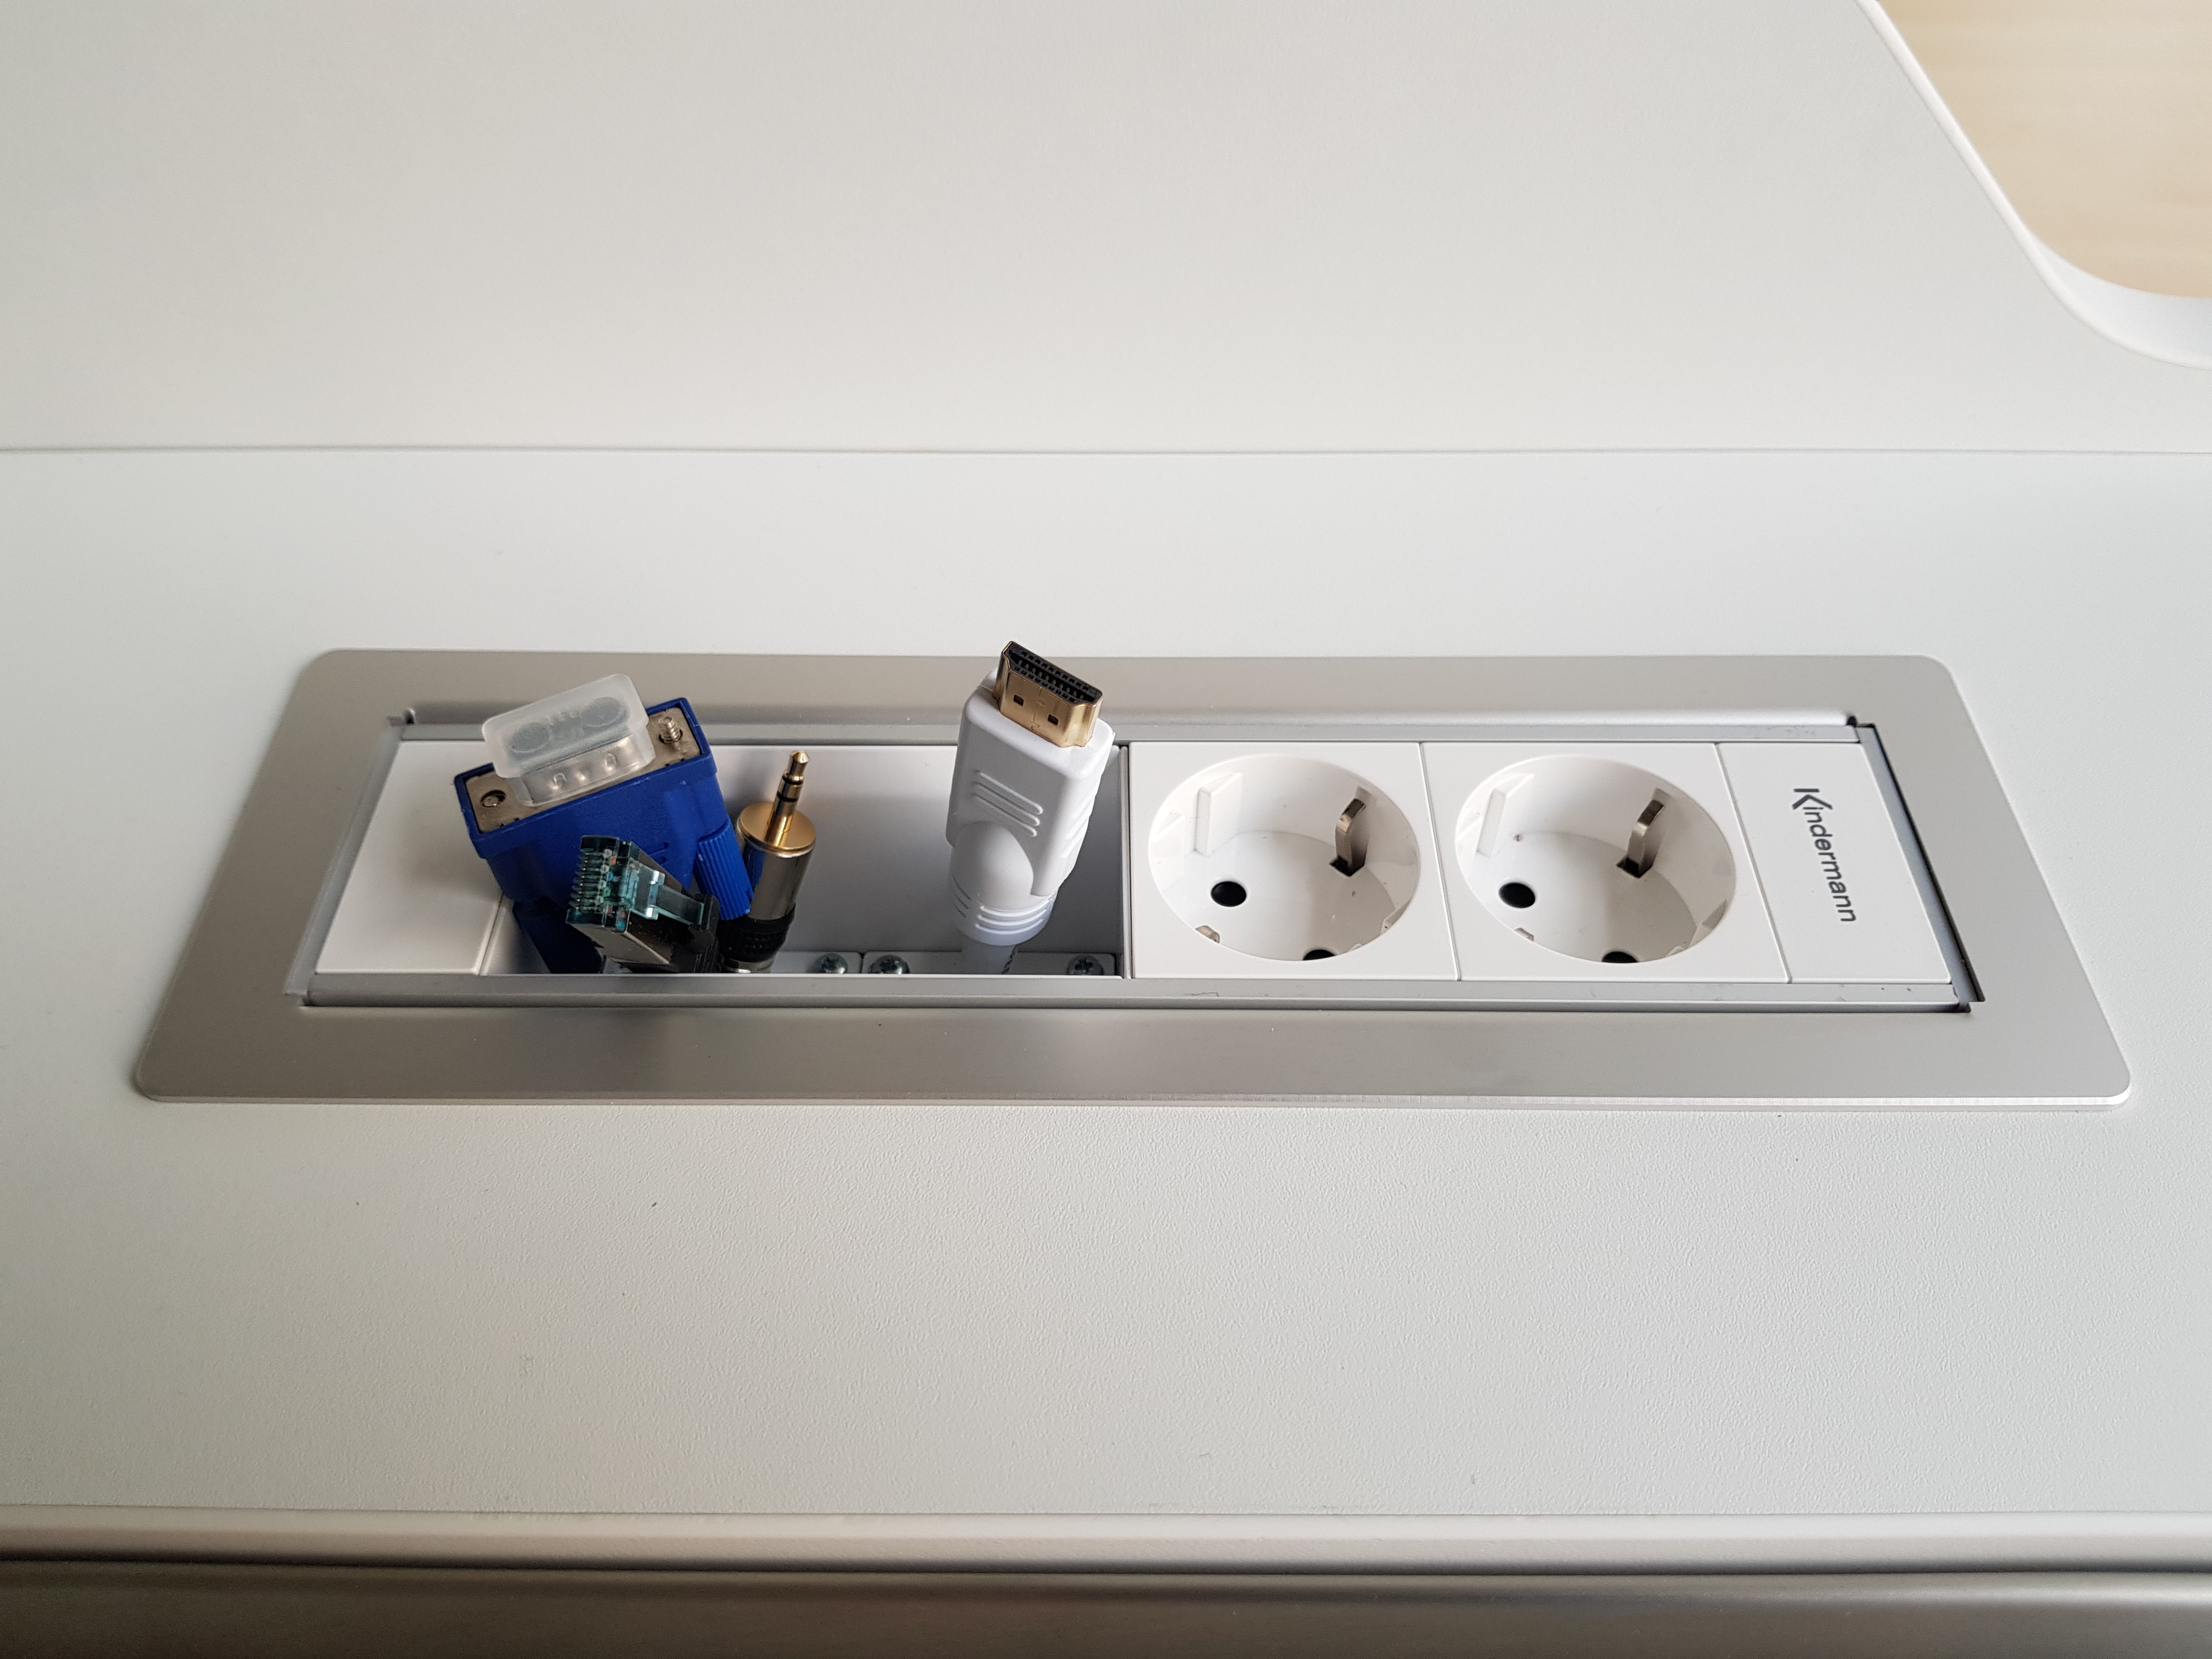
Both lectern variations are operated in the same way. On the top of the lectern you will see the cable tanks:
Pull the relevant cable from the tank installed in the lectern. Please do not use excessive force while doing so. Insert the plug in the respective port of your media device. Please make sure that your device activated the port and outputs a valid video signal on the chosen port. The lecterns integrated scaler should now detect the signal from your device. It should signal this state by a blinking power LED. Directly afterwards, the scaler should switch on the beamer automatically. The beamer should beep and start to vent. The noise from the vents will go down in a moment. Now the beamer should display your picture after starting up. In standby the scaler should look like this:
After use just pull the plug off your media device again and carefully push the cable back into the tank. The beamer will be switched off automatically after about a minute without a video signal.
If you only want to change the input device, just change the connection and the scaler will detect the new connection without switching the beamer off and changes input channels if necessary.
Manual interaction with the scaler is generally not necessary. If you attach HDMI and VGA sources in parallel, you can use the channel buttons 1 (HDMI) and 5 (VGA) on the front of the device to choose the shown input device. Even then the scaler will switch the beamer off automatically as soon as you remove the last signal source from the input channels.
Anschluss von Audioquellen
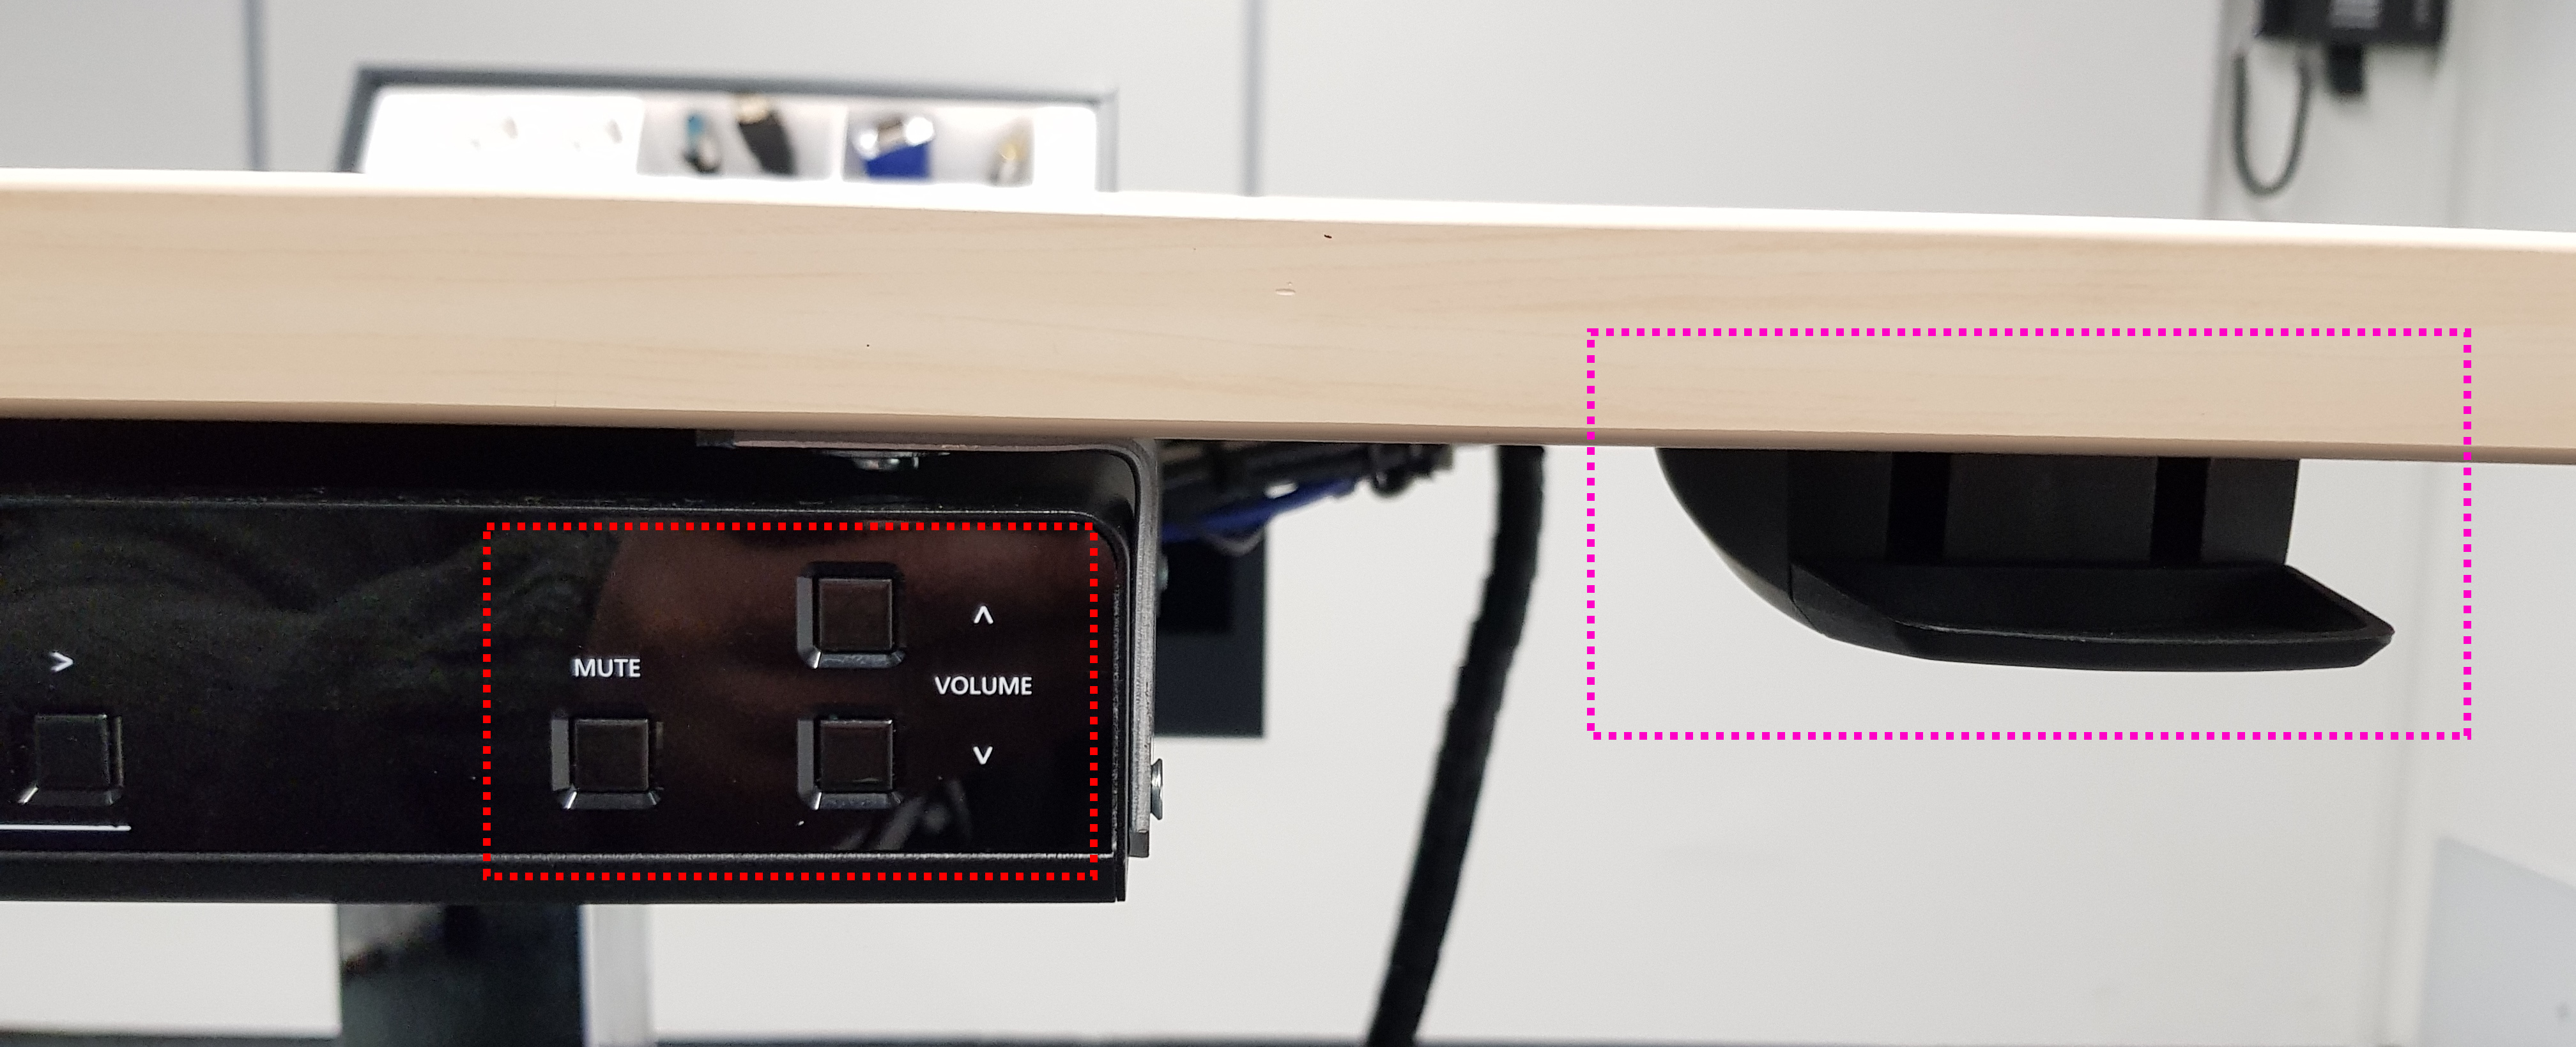
Audiosignale werden bei Nutzung der HDMI Displayverbindung direkt digital mit über HDMI und bei Nutzung der VGA Verbindung über das separate Audiokabel mit Klinkenstecker zum Pult übertragen. Beide Signalquellen sind gleichberechtigt im Scaler zusammengeführt und benötigen keiner direkten oder besonderen Selektion. Am Scaler befinden sich Kontrollen zur Lautstärkekontrolle und Stummschaltung (im Bild unten rot markiert). Bei Nutzung gibt es im Beamerbild eine direkte Rückmeldung über den Zustand der aktuellen Audiosignaleinstellungen.
Höhenverstellung
Beide Pultvarianten können in der Höhe verstellt werden. Die normale Variante besitzt eine Gasdruckfeder, vergleichbar mit der in einem Bürostuhl. Die große Variante ist elektrisch verstellbar.
Die normale Variante verstellen Sie, in dem sie die Verriegelung in Richtung Tischplatte ziehen (Markierung Magenta im Bild) und die Platte vorsichtig nach unten drücken oder nach oben ziehen. Lassen Sie die Verriegelung los, sobald die gewünschte Position erreicht ist.
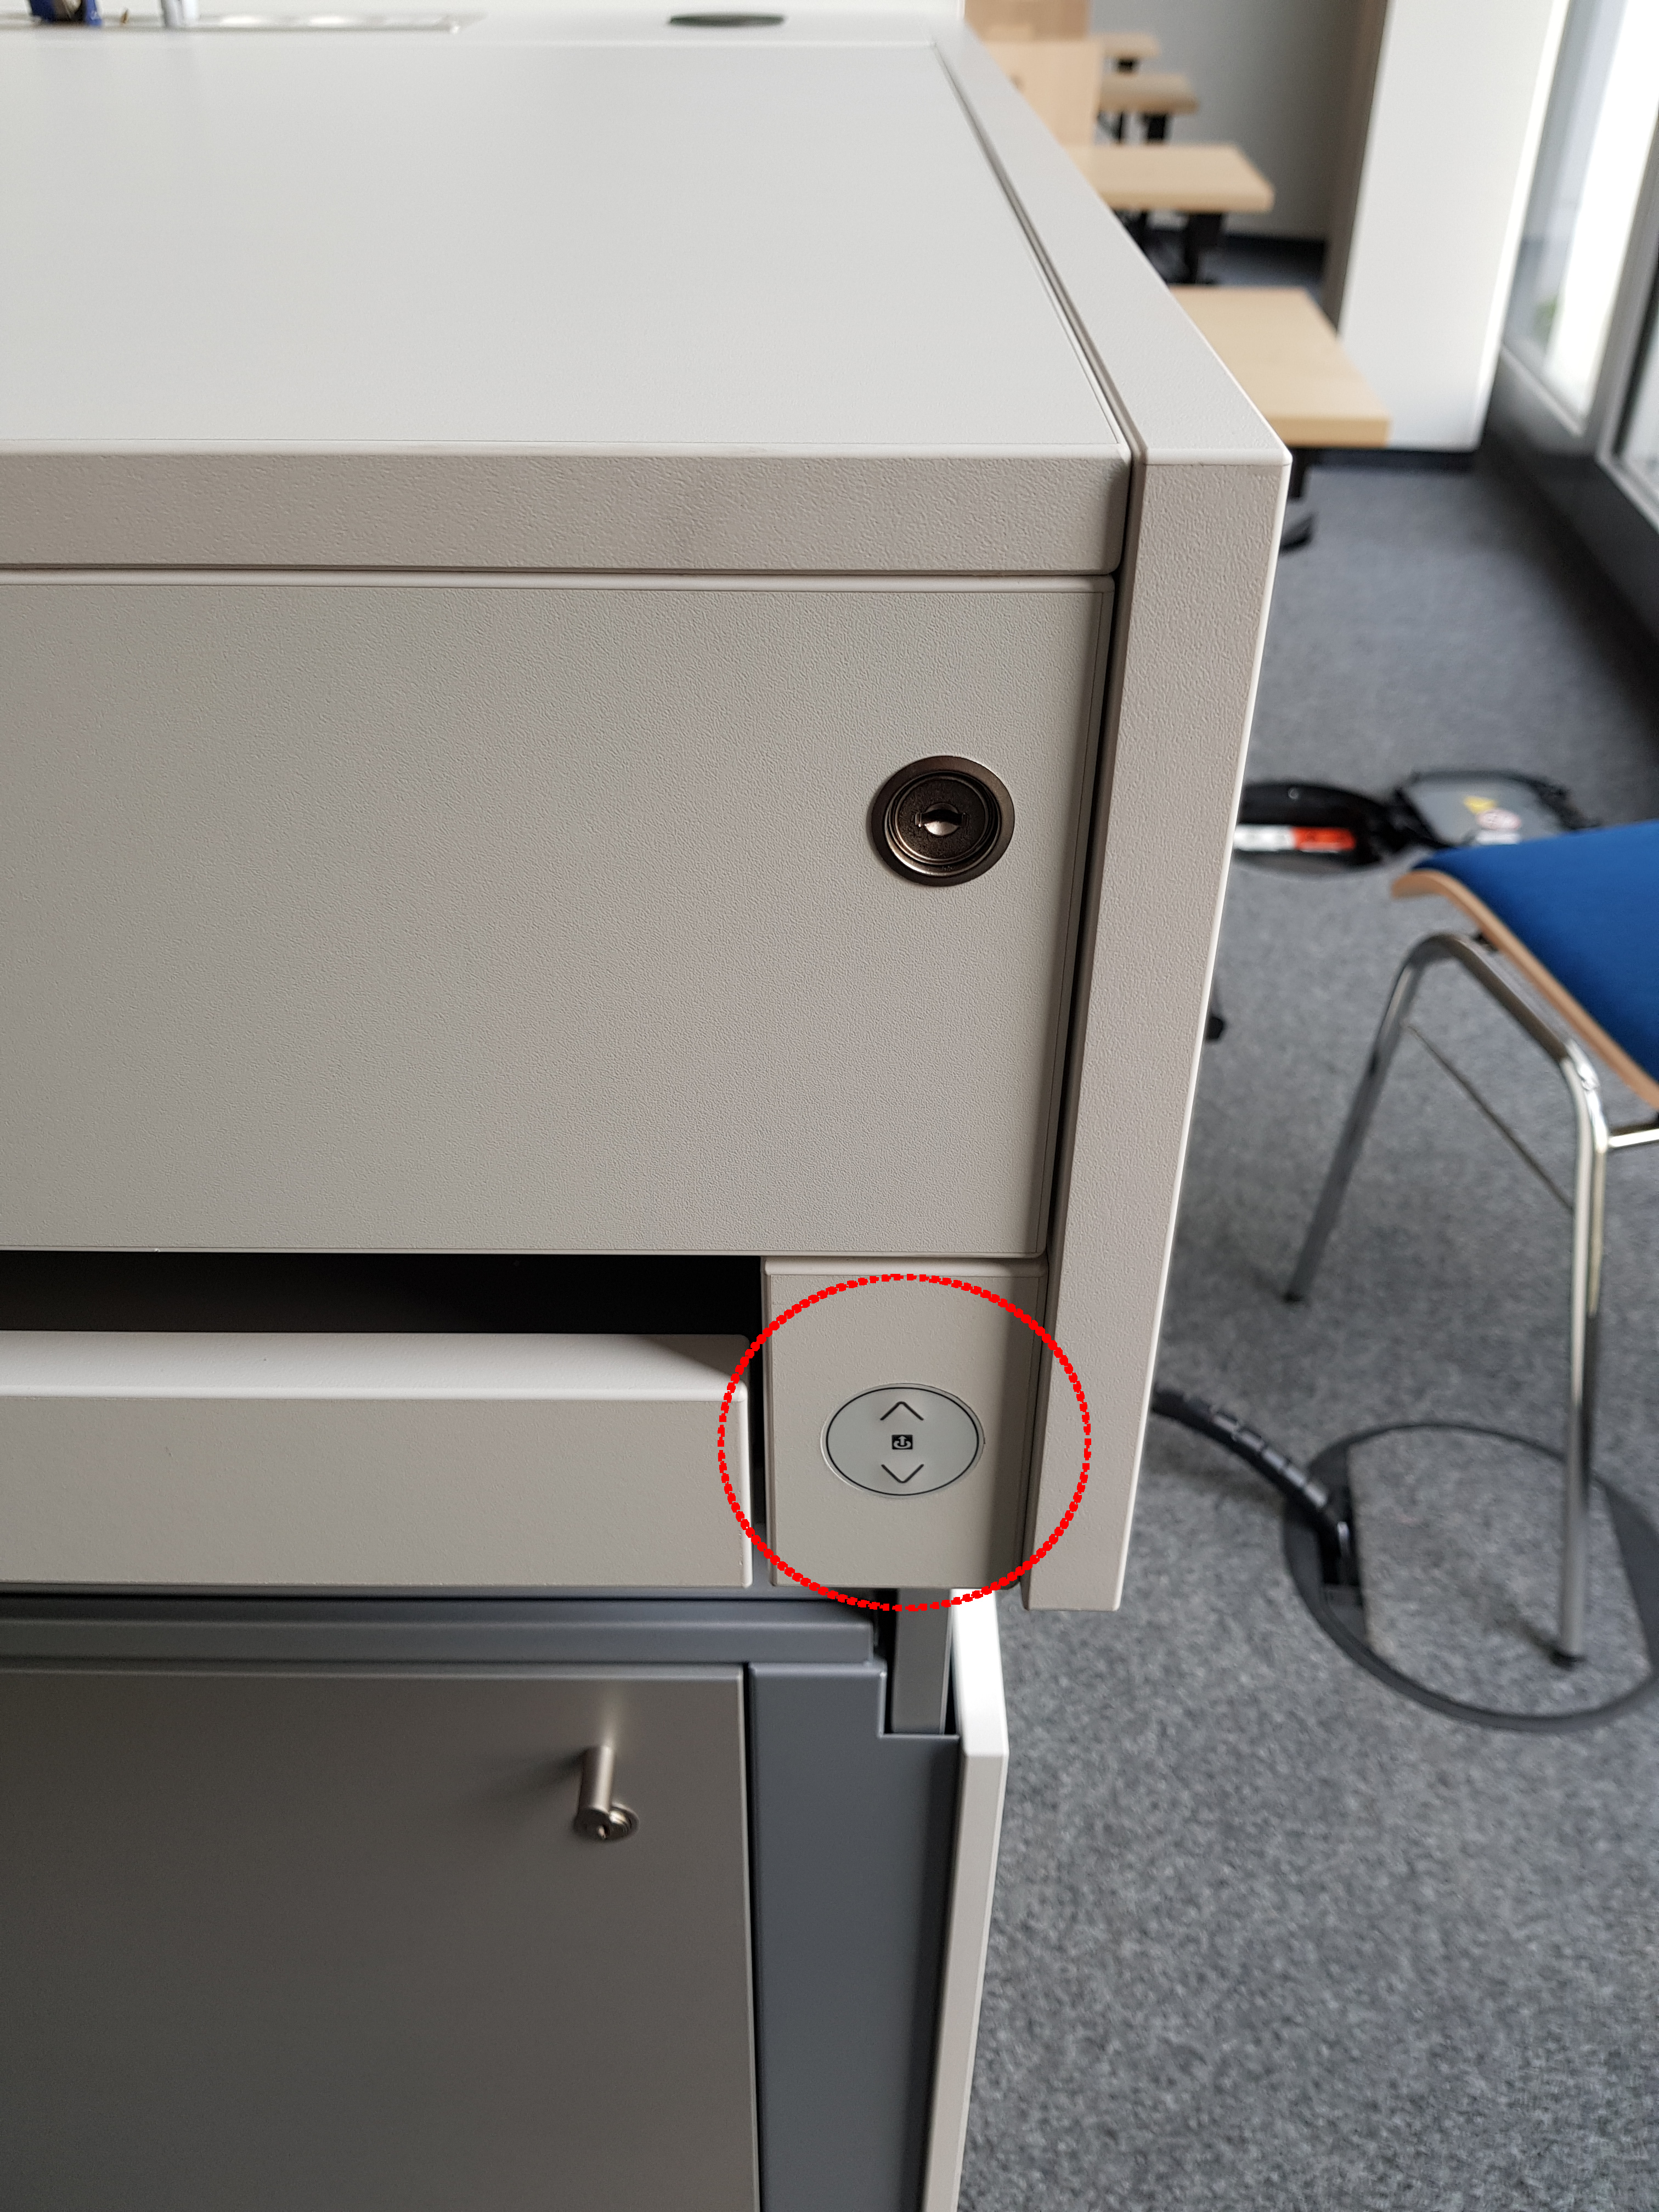
Die große Pultvariante verstellt man einfach durch das Drücken der entsprechenden Richtungstaste (rot markiert im Bild oben).
Mikrofonie
Alle Pulte können mit Mikrofonen ausgestattet werden. Die großen Varianten haben die Option auf ein Pult-, Lavalier- und Stabmikrofon, dass bei Bedarf bei der GSG in den Räumen 0.009, 0.010, 0.014 und 0.015 entliehen werden kann. Die kleinen Pulte haben einen Montageplatz für eine drahtlose Mikrofoneinheit, die ebenfalls bei Bedarf in unseren Räumlichkeiten entliehen werden kann. Bitte planen Sie bei Nutzung dieser Option bei den kleinen Pulten etwas Zeit für die notwendigen Vorbereitungen des Pultes ein.

